
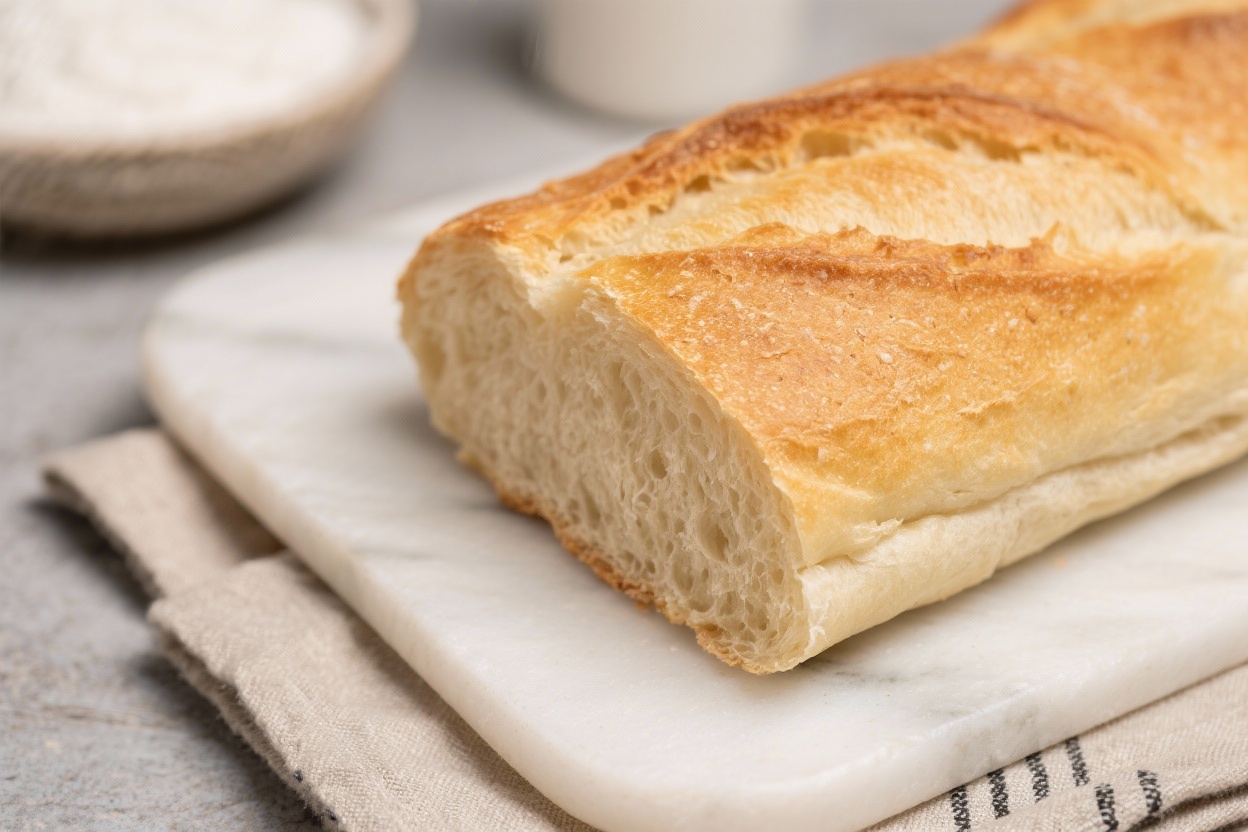
French bread should be light inside, with a thin, crisp crust that gives just the right crackle. If you’ve ever felt intimidated by yeast or kneading, this recipe will change that. It’s straightforward, forgiving, and consistently turns out tender loaves with beautiful rise.
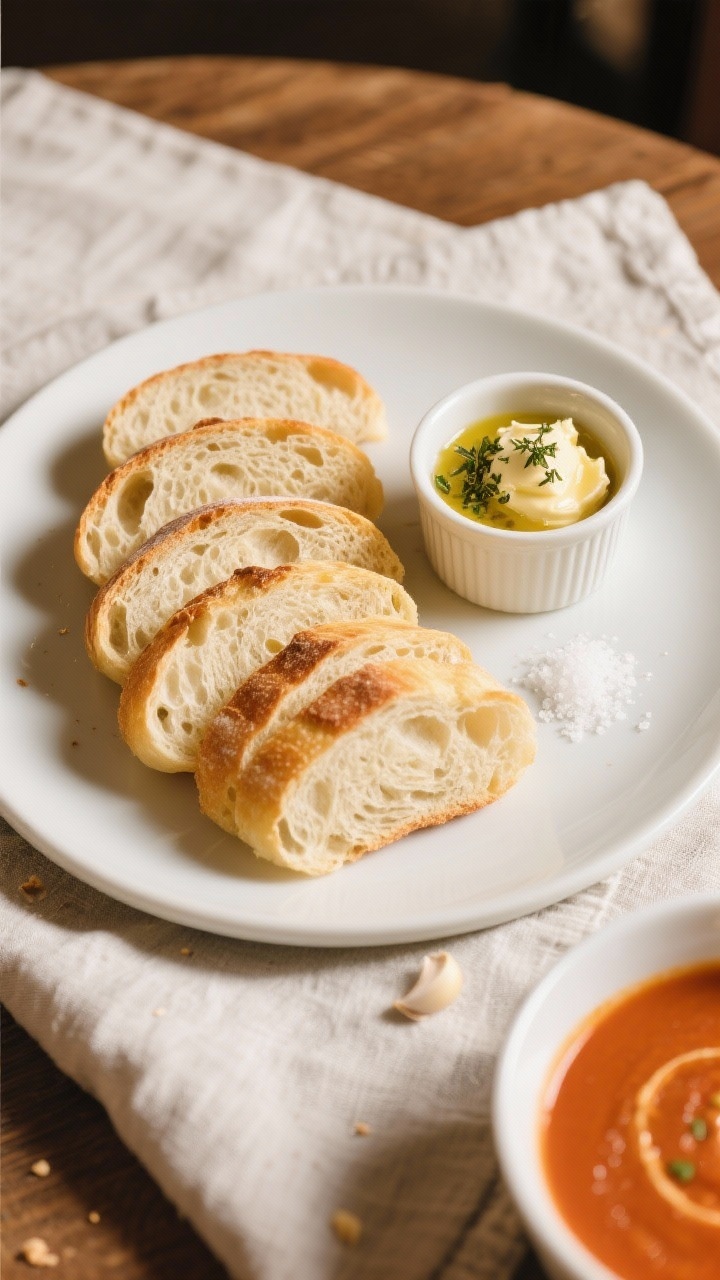
You’ll get bakery style results with ingredients you likely already have. Whether you’re making sandwiches, garlic bread, or something to serve with soup, this loaf does it all.
What Makes This Special
This recipe uses a touch of sugar and just the right amount of kneading to build a soft, airy crumb without getting tough. A short rest after shaping helps the loaves expand evenly, while steam in the oven keeps the crust thin and crackly.
It’s flexible too works with bread flour or all-purpose, and you don’t need special equipment. The process is simple, the timing is forgiving, and the results are reliably impressive.
Ingredients
- 4 cups (500 g) bread flour (or all-purpose flour, spooned and leveled)
- 1 1/2 cups (360 ml) warm water (about 105–110°F / 40–43°C)
- 2 1/4 teaspoons (7 g) instant or active dry yeast (one packet)
- 2 tablespoons (25 g) granulated sugar
- 2 teaspoons (10 g) fine sea salt
- 2 tablespoons (28 g) unsalted butter, melted (or neutral oil)
- Optional: 1 egg white beaten with 1 tablespoon water for glazing
Instructions
- Bloom the yeast (if using active dry). In a bowl, mix warm water and sugar. Sprinkle in the yeast and let it sit 5–8 minutes until foamy.If using instant yeast, you can skip blooming and add it directly to the flour, but still warm the water with the sugar.
- Make the dough. In a large bowl, combine flour and salt. Add the yeast mixture and melted butter. Stir with a sturdy spoon or dough whisk until a shaggy dough forms.
- Knead until smooth. Turn the dough onto a lightly floured surface.Knead for 7–10 minutes, adding only a dusting of flour as needed. Aim for a soft, slightly tacky dough that springs back when pressed. If using a stand mixer with a dough hook, mix on medium-low for 6–8 minutes.
- First rise. Shape the dough into a ball and place it in a lightly oiled bowl, turning once to coat.Cover with a clean towel or plastic wrap. Let rise in a warm, draft-free place for 60–90 minutes, or until doubled in size.
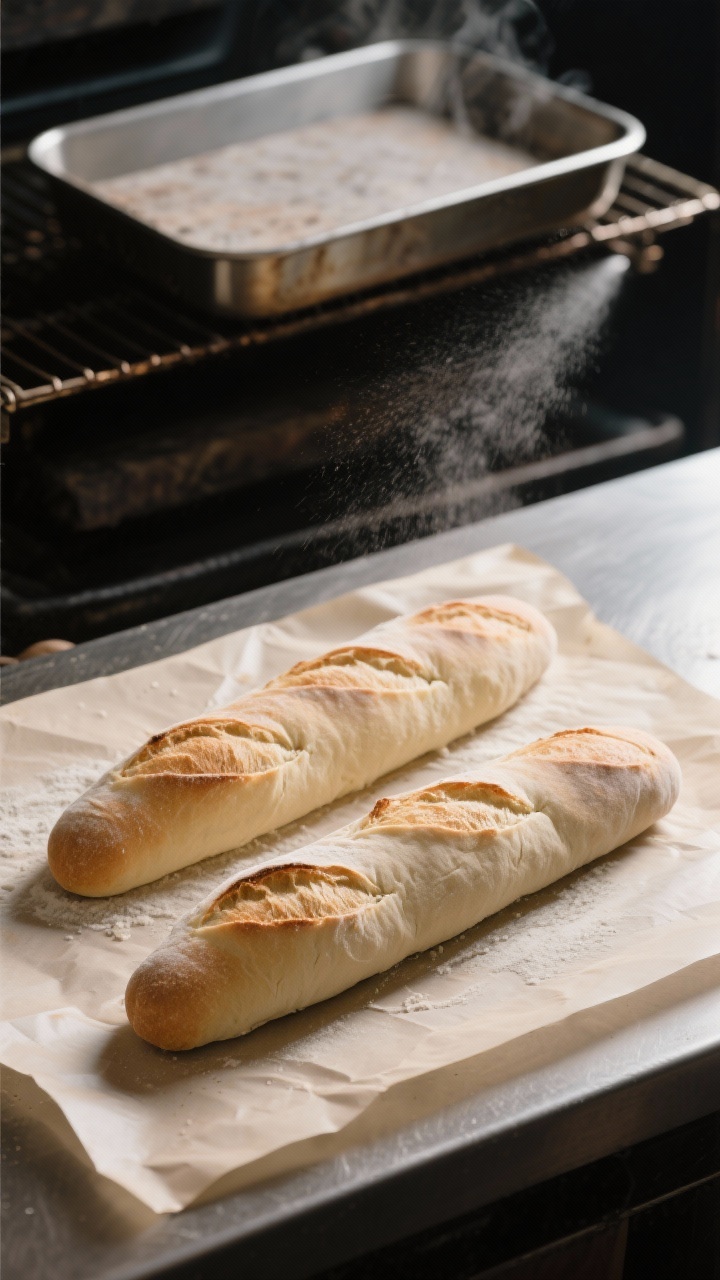
- Prepare your baking setup. Place a baking stone or an inverted baking sheet on the middle rack and preheat the oven to 425°F (220°C). Put a metal baking pan on the lower rack to use for steam later.
- Shape the loaves. Gently deflate the dough and divide it into two equal pieces.Press each piece into a rectangle. Tightly roll from the long edge into a log, sealing the seam. Taper the ends slightly for a classic look.
Place seam-side down on parchment. Cover loosely and rest 15–20 minutes.
- Second proof. After the short rest, let the loaves proof another 20–30 minutes, until slightly puffy. They should hold their shape and slowly spring back when gently pressed.
- Score the tops. Use a sharp knife or lame to slash each loaf 3–4 times at a slight angle.This helps the bread expand evenly in the oven.
- Optional glaze. Brush lightly with the egg white wash for a shiny, golden finish. For a matte finish, skip the glaze and mist with water instead.
- Add steam and bake. Slide the parchment with loaves onto the preheated stone or sheet. Carefully pour 1 cup of hot water into the lower pan to create steam and close the oven door quickly.Bake for 22–28 minutes, until deep golden and the loaves sound hollow when tapped on the bottom.
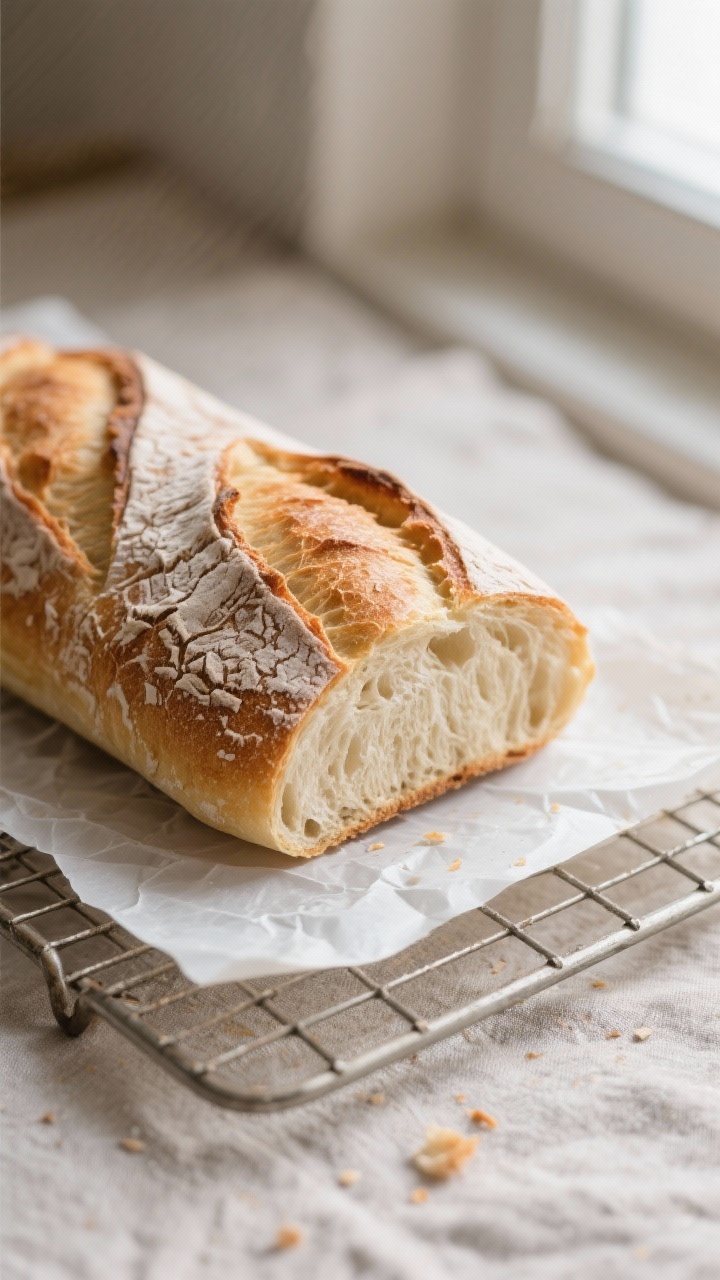
- Cool properly. Transfer to a wire rack and let cool at least 20–30 minutes before slicing. This sets the crumb and keeps it soft.
Keeping It Fresh
- Short-term: Store the cooled bread in a paper bag or wrapped in a clean kitchen towel for up to 2 days. This preserves the crust while keeping the interior soft.
- Longer storage: For up to 4 days, wrap tightly in plastic or place in a bread box.The crust will soften, but a quick toast revives it.
- Freezing: Slice, wrap well, and freeze for up to 2 months. Toast slices straight from the freezer or reheat a whole loaf at 325°F (165°C) for 10–12 minutes.
- Reviving crust: Sprinkle the loaf lightly with water and warm in a 375°F (190°C) oven for 5–7 minutes.
Benefits of This Recipe
- Beginner-friendly: Simple steps and forgiving dough make it perfect for home bakers.
- Soft, fluffy crumb: Balanced hydration and gentle kneading create a tender interior.
- Flexible ingredients: Works with bread or all-purpose flour; butter or oil.
- Reliable rise: Two easy proofs and proper scoring help achieve that bakery look.
- Great for everything: Sandwiches, garlic bread, bruschetta, or serving with soups and salads.
Pitfalls to Watch Out For
- Water too hot: Anything above 120°F (49°C) can kill yeast. Aim for warm, not hot.
- Adding too much flour: A slightly tacky dough bakes up softer.Resist heavy dusting.
- Underproofing: If the dough doesn’t rise enough, the loaf can split awkwardly or feel dense.
- Skipping steam: No steam leads to a thicker, tougher crust and less oven spring.
- Slicing too soon: Cutting hot bread compresses the crumb and dries it out.
Alternatives
- Whole wheat twist: Replace up to 30% of the flour with whole wheat. Add an extra tablespoon of water if the dough feels stiff.
- Olive oil and herbs: Swap butter for olive oil and mix in 1 teaspoon dried Italian herbs for a savory loaf.
- Garlic butter finish: Brush hot loaves with melted garlic butter and a pinch of flaky salt.
- Mini baguettes: Divide into 3–4 smaller logs and reduce bake time by 5–7 minutes.
- Overnight proof: After the first rise, refrigerate the dough tightly covered overnight. Shape and bake the next day for deeper flavor.
FAQ
Can I use all purpose flour instead of bread flour?
Yes.
All-purpose flour works well and yields a slightly more tender crumb. If the dough feels too sticky, add 1–2 tablespoons more flour during kneading, but keep it soft.
What if I don’t have a baking stone?
Preheat an inverted baking sheet and bake on that. It holds heat well enough to give you a nice oven spring and a good crust.
How do I know the dough is kneaded enough?
The dough should feel smooth, elastic, and slightly tacky.
When you press it with a fingertip, it should spring back slowly. You can also stretch a small piece—if it forms a thin “window” without tearing, you’re there.
Why did my bread come out dense?
Common causes are water that’s too hot (yeast damage), not enough kneading, or underproofing. Make sure the dough doubles on the first rise and looks puffy after shaping.
Give it time—cool rooms can slow things down.
Can I make this without sugar?
Yes. The bread will still rise, though it may take a bit longer and brown slightly less. If skipping sugar, watch your proofing time and bake until fully golden.
How can I get a thinner crust?
Use steam in the first 10 minutes and avoid overbaking.
Brushing with egg white helps color, but for an extra-thin crust, skip the egg wash and mist with water instead.
Is this the same as a baguette?
It’s similar but a touch softer and more adaptable for home ovens. Traditional baguettes use lean dough and specific shaping and baking methods. This recipe gives you that classic look with a softer bite.
Can I add seeds on top?
Absolutely.
Brush with egg wash and sprinkle sesame, poppy, or everything seasoning before baking. Press gently so they adhere.
What’s the best way to slice?
Use a sharp serrated knife once the bread has cooled at least 20 minutes. Slice with a gentle sawing motion to protect the crumb.
Wrapping Up
This soft and fluffy French bread is simple, reliable, and downright satisfying to make.
With a few basic steps and a bit of patience, you’ll have golden loaves that are perfect for everyday meals and special occasions. Keep the dough soft, add steam, and let it cool before slicing. Once you make it, you’ll come back to this recipe again and again.
Printable Recipe Card
Want just the essential recipe details without scrolling through the article? Get our printable recipe card with just the ingredients and instructions.