
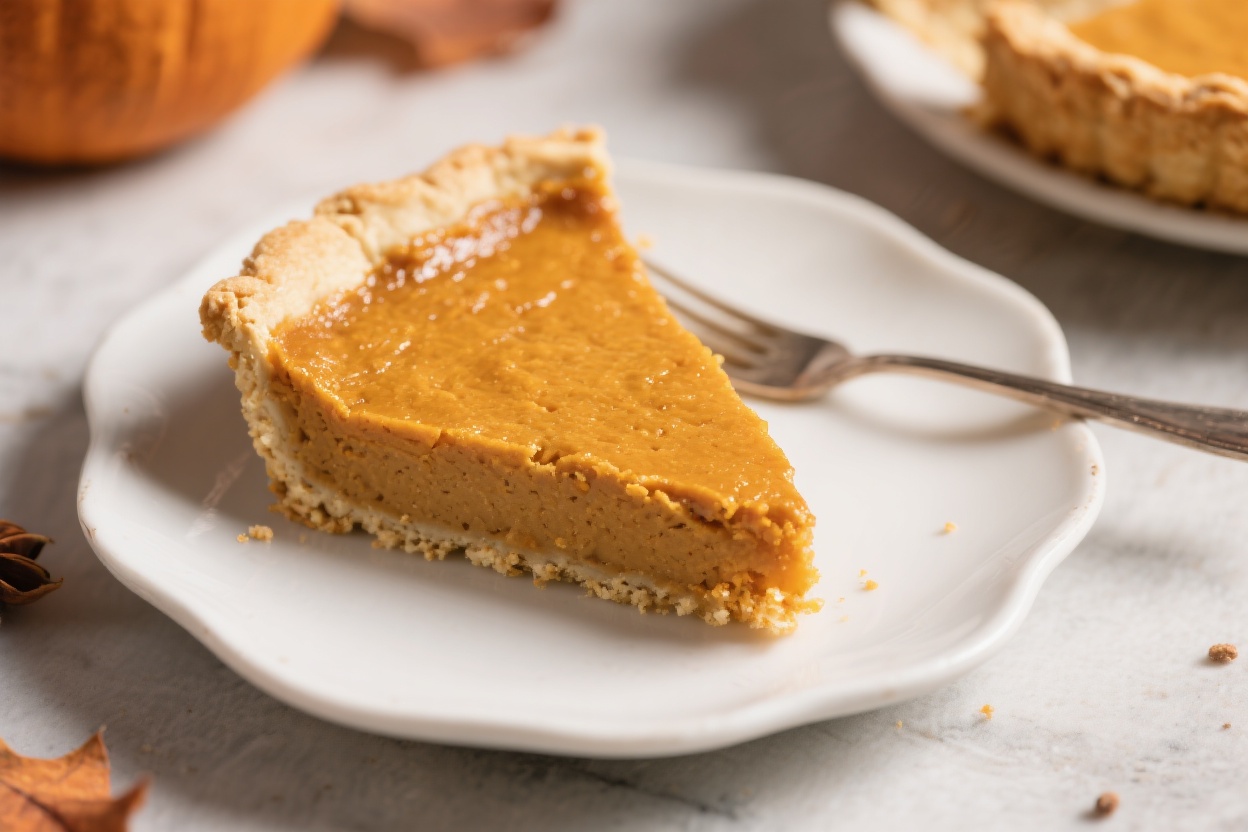
If you love pumpkin pie but want something lighter and simpler, this crustless version is a total win. It packs the same cozy spice and creamy texture you expect from classic pumpkin pie—just without the extra fuss of a crust. It’s great for holiday gatherings, weeknight treats, or any time you want pumpkin flavor fast.
The filling bakes up silky and sliceable, and no one misses the crust once they taste the warm spices and smooth custard. Serve it chilled with whipped cream, and you’ve got a crowd-pleaser with less work and fewer calories.
Why This Recipe Works
- All the flavor, less work: No rolling, chilling, or blind baking a crust. You mix, pour, and bake.
- Smooth, creamy texture: Pumpkin puree and eggs create a custard that sets beautifully and cuts cleanly.
- Balanced sweetness and spice: Cinnamon, ginger, nutmeg, and a touch of clove bring classic holiday warmth without overpowering the pumpkin.
- Lighter by default: Skipping the crust reduces calories and saturated fat while keeping the dessert satisfying.
- Make-ahead friendly: The flavor actually improves after a night in the fridge.
Ingredients
- 1 can (15 ounces) pure pumpkin puree (not pumpkin pie filling)
- 3 large eggs, room temperature
- 3/4 cup granulated sugar (or 1/2 cup sugar + 1/4 cup brown sugar for deeper flavor)
- 1 cup evaporated milk (or half-and-half for extra richness)
- 1 teaspoon vanilla extract
- 1 1/2 teaspoons ground cinnamon
- 1/2 teaspoon ground ginger
- 1/4 teaspoon ground nutmeg
- 1/8 teaspoon ground cloves (optional but recommended)
- 1/4 teaspoon fine salt
- Nonstick cooking spray or butter for greasing the pan
- Whipped cream, for serving (optional)
Step-by-Step Instructions
- Prep the pan and oven: Heat the oven to 350°F (175°C).Lightly grease a 9-inch pie dish or a 9-inch round cake pan with cooking spray or butter.
- Warm the dairy slightly: If your evaporated milk is very cold, let it sit out for 10–15 minutes. Room-temp ingredients blend more smoothly and reduce cracking.
- Mix the dry spices: In a small bowl, whisk together cinnamon, ginger, nutmeg, cloves, and salt. This helps spread the spices evenly in the batter.
- Whisk the wet base: In a large bowl, whisk pumpkin puree, sugar, and vanilla until smooth.Add the eggs one at a time, whisking just until combined. Do not overbeat.
- Combine: Whisk in the spice mixture, then gradually pour in the evaporated milk, whisking until the batter is silky and uniform.
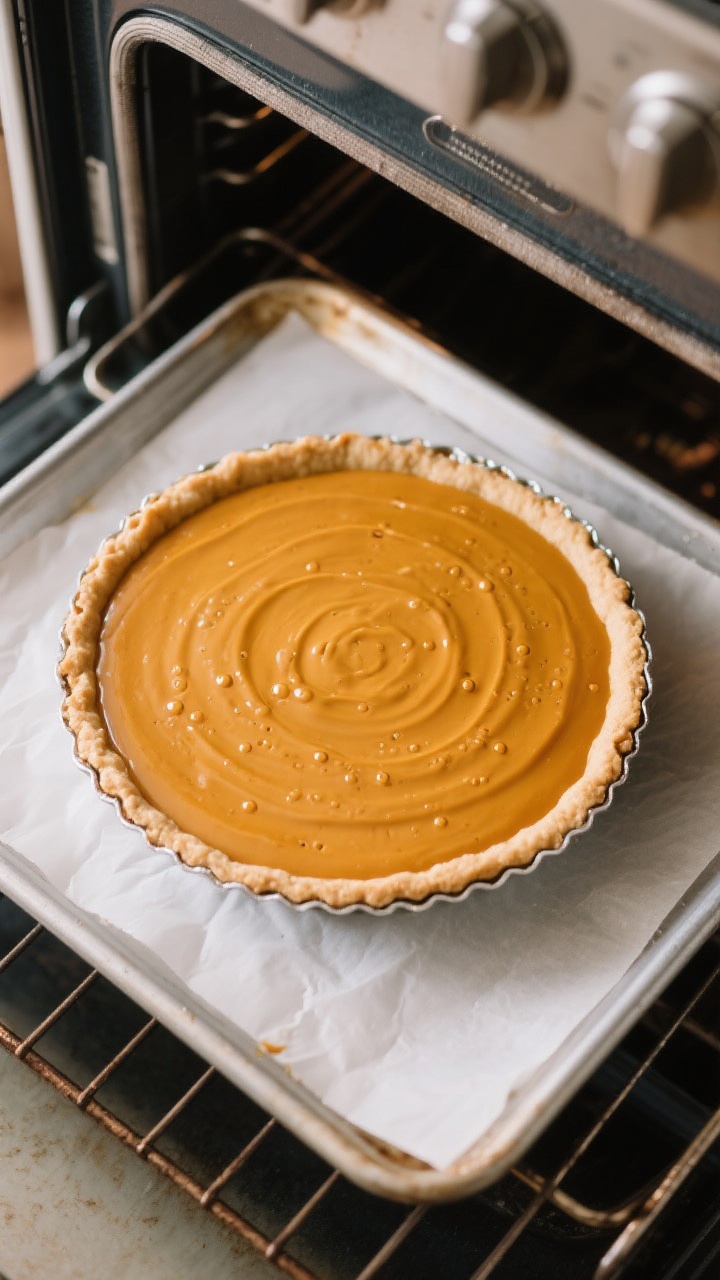
- Pour and smooth: Pour the filling into the prepared pan. Tap the pan gently on the counter to release any air bubbles.
- Bake: Place on the center rack and bake for 40–50 minutes.The edges should be set, and the center should jiggle slightly like soft Jell-O.
- Check doneness: Insert a thin knife about 1 inch from the center—if it comes out mostly clean, it’s done. Avoid overbaking to keep it creamy.
- Cool gradually: Let the pie cool on a rack for 1 hour. Then chill at least 3 hours, preferably overnight, to fully set and develop flavor.
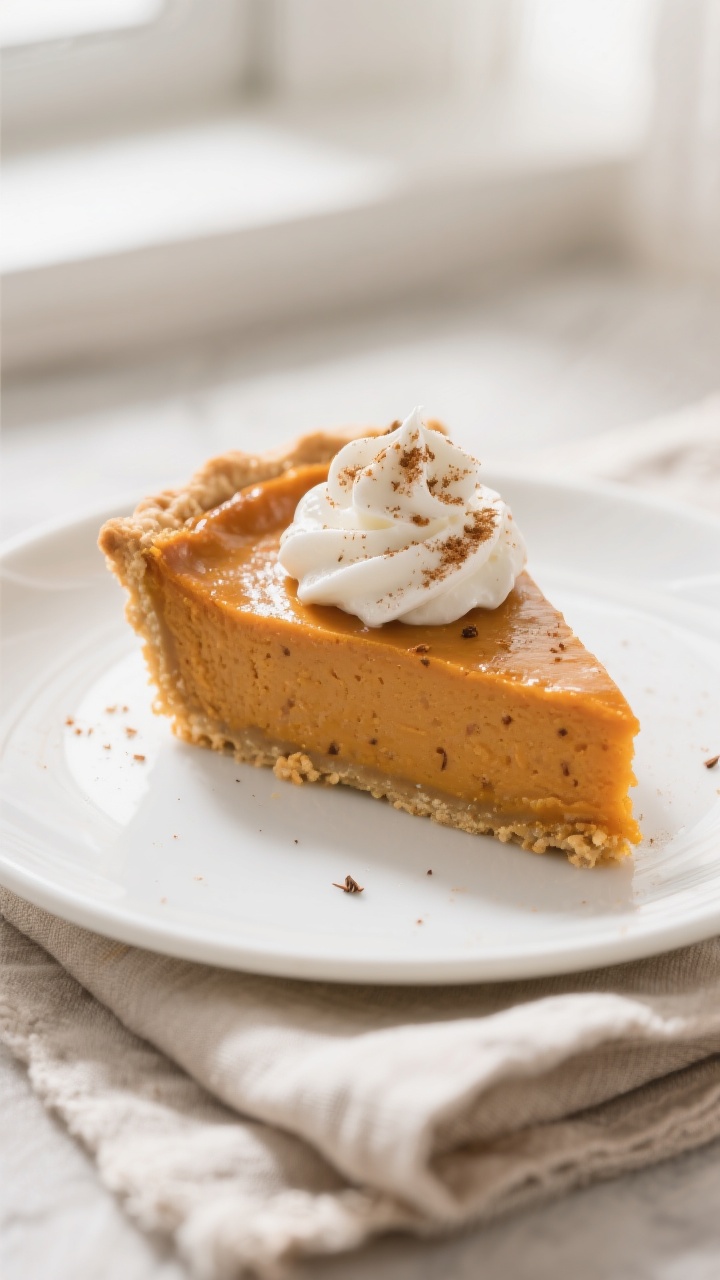
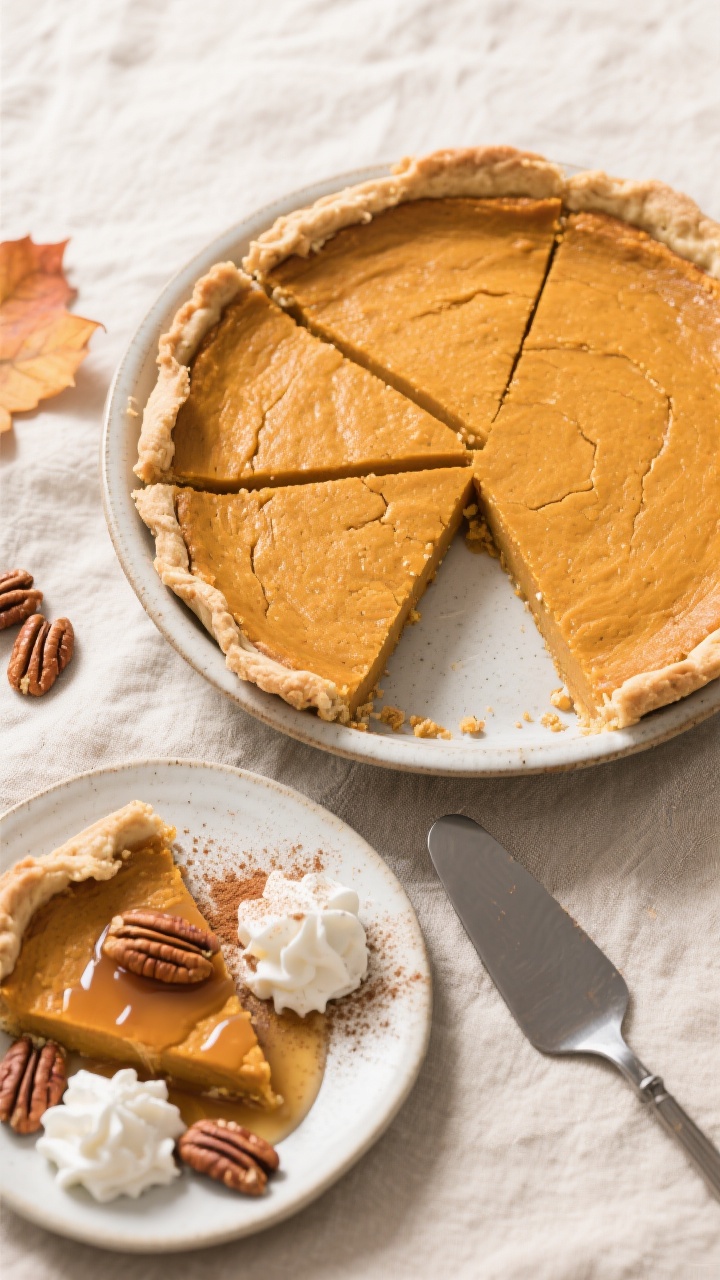
- Serve: Slice with a thin, sharp knife.Wipe the blade between cuts for clean slices. Top with lightly sweetened whipped cream or a dollop of Greek yogurt.
Keeping It Fresh
- Refrigeration: Cover the cooled pie tightly with plastic wrap or a reusable lid. Store in the fridge for up to 4 days.
- Freezing: Wrap slices individually in plastic, then foil, and freeze for up to 2 months.Thaw overnight in the fridge.
- Best texture tip: Serve chilled or lightly cool. If you prefer it warmer, a brief 10–15 seconds in the microwave per slice is enough—avoid overheating.
Benefits of This Recipe
- Time-saving: Skips crust prep, blind baking, and chilling.
- Lower effort, fewer dishes: One bowl, one pan, minimal cleanup.
- Lighter option: No crust means fewer calories without sacrificing flavor.
- Gluten-friendly: Naturally gluten-free as long as all ingredients are certified GF.
- Consistent results: The custard sets evenly without the risk of a soggy bottom.
Pitfalls to Watch Out For
- Overbaking: This causes cracks and a dry texture. Pull it when the center still has a gentle wobble.
- Using pumpkin pie filling: It’s pre-sweetened and spiced, which throws off the balance.Use pure pumpkin puree.
- Cold ingredients: Very cold dairy and eggs make the batter harder to combine and can lead to cracks. Room-temp works best.
- Skipping the chill: The pie needs time in the fridge to set properly and slice cleanly.
- Wrong pan size: A smaller, deeper pan extends bake time; an oversized pan can make the custard too thin. Aim for a standard 9-inch dish.
Variations You Can Try
- Dairy-free: Swap evaporated milk for full-fat coconut milk.Expect a faint coconut note that pairs nicely with pumpkin.
- Maple-sweetened: Replace 1/4 cup of the sugar with pure maple syrup. Reduce evaporated milk by 2 tablespoons to balance the moisture.
- Spice it your way: Use 1 3/4 teaspoons pumpkin pie spice in place of the individual spices. Add a pinch of black pepper for subtle warmth.
- Sweet topping: Sprinkle a thin layer of turbinado sugar on top after baking, then briefly torch or broil for a crackly brûlée finish.
- Nut crunch: Add a pecan or walnut streusel in the last 15 minutes of baking for texture.
- Protein boost: Whisk in 2 tablespoons almond flour.It slightly firms the custard and adds a gentle nuttiness.
FAQ
Can I use fresh pumpkin instead of canned?
Yes. Roast and puree a sugar pumpkin or kabocha, then strain the puree through cheesecloth or a fine sieve to remove excess moisture. You’ll need 15 ounces (about 1 3/4 cups) of thick, smooth puree.
How do I prevent cracks on top?
Avoid overbaking, use room-temperature ingredients, and let the pie cool gradually.
If it still cracks, cover with whipped cream—no one will know.
Can I make this ahead for Thanksgiving?
Definitely. Bake it the day before, cool, cover, and refrigerate overnight. The texture improves and slicing is easier the next day.
What if I don’t have evaporated milk?
Use half-and-half or a mix of whole milk and heavy cream (3/4 cup whole milk + 1/4 cup cream).
Avoid nonfat milk, which can lead to a watery custard.
How do I know it’s fully baked?
Look for set edges and a slight jiggle in the center. A knife inserted about 1 inch from the center should come out mostly clean.
Can I reduce the sugar?
Yes, you can drop it to 1/2 cup. The pie will be less sweet but still flavorful thanks to the spices and pumpkin.
Is this recipe gluten-free?
It is naturally gluten-free as written.
Just double-check that your spices and vanilla extract are certified gluten-free if needed.
Can I bake it in ramekins?
Yes. Divide the batter among 6–8 greased ramekins and bake 25–35 minutes, depending on size. They’re done when the centers have a gentle jiggle.
What’s the best way to slice cleanly?
Chill the pie thoroughly, then use a thin, sharp knife and wipe it between cuts.
A small offset spatula helps lift neat slices.
How should I serve it?
Chilled with whipped cream is classic. A dusting of cinnamon, a drizzle of maple syrup, or a handful of toasted pecans makes it feel special.
Wrapping Up
Crustless pumpkin pie is the kind of dessert that keeps the cozy holiday vibe while skipping the fussy steps. It’s simple, reliable, and tastes like the season in every bite.
Make it ahead, keep it chilled, and top with a cloud of whipped cream. Whether it’s Thanksgiving or just a Tuesday night, this easy, low-crust treat fits right in. Enjoy the comfort, not the complications.
Printable Recipe Card
Want just the essential recipe details without scrolling through the article? Get our printable recipe card with just the ingredients and instructions.