
If you love the light, eggy sweetness and playful texture of bubble waffles, this at-home version will hit the spot. It’s simple to mix, quick to cook, and gives you that signature crisp edge with a soft, custardy center. You don’t need a shop visit or a long ingredients list to get the vibe right.
With a good pan and a few smart tricks, you’ll have the same bouncy, bubble-shaped waffle ready for toppings or a scoop of ice cream. It’s fun to make, easy to share, and honestly just makes any day better.
Why This Recipe Works
- Light batter, big bubbles: Cornstarch and cake flour keep the texture airy and tender, so the bubbles bake up soft inside and crisp outside.
- Balanced sweetness: A small amount of sugar and vanilla makes the waffle taste like a treat without overwhelming toppings.
- Moist, custardy interior: Eggs and milk create a gentle, eggy flavor and soft bite that holds even after cooling.
- Even browning: A touch of oil in the batter plus a light pan greasing gives you that golden, photo-ready finish.
- Copycat consistency: Resting the batter for a few minutes lets the flour hydrate, so you get bubbles that puff evenly.
Shopping List
- Cake flour (or all-purpose flour + cornstarch swap noted below)
- Cornstarch
- Granulated sugar
- Baking powder
- Fine salt
- Large eggs
- Whole milk (or 2%)
- Water
- Vanilla extract
- Neutral oil (canola, grapeseed, or light vegetable oil)
- Unsalted butter (melted, optional for richer flavor)
- Nonstick spray or a little oil for the pan
- Bubble waffle pan/egg waffle pan (stovetop) or an electric bubble waffle maker
How to Make It

- Set up your tools: Heat a bubble waffle pan over medium heat, or preheat your electric bubble waffle maker. Have a cooling rack ready.
- Whisk dry ingredients: In a bowl, combine 1 cup cake flour, 1/3 cup cornstarch, 1/3 cup sugar, 1 1/2 teaspoons baking powder, and 1/4 teaspoon salt.Mix well.
- Mix wet ingredients: In another bowl, whisk 2 large eggs, 3/4 cup whole milk, 1/4 cup water, 1 teaspoon vanilla extract, and 2 tablespoons neutral oil. For extra richness, add 1 tablespoon melted butter (optional).
- Combine gently: Pour wet into dry. Whisk just until smooth.Don’t overmix; a few tiny lumps are fine.
- Rest the batter: Let it sit for 8–10 minutes. This helps bubbles puff evenly and improves browning.
- Grease the pan: Lightly coat both sides with nonstick spray or brush with oil. Too much oil can cause uneven spots.
- Pour and tilt: For a stovetop pan, pour about 2/3 cup of batter into the center.Close the pan and flip immediately so batter fills the cavities. For an electric maker, follow the fill line in your manual.
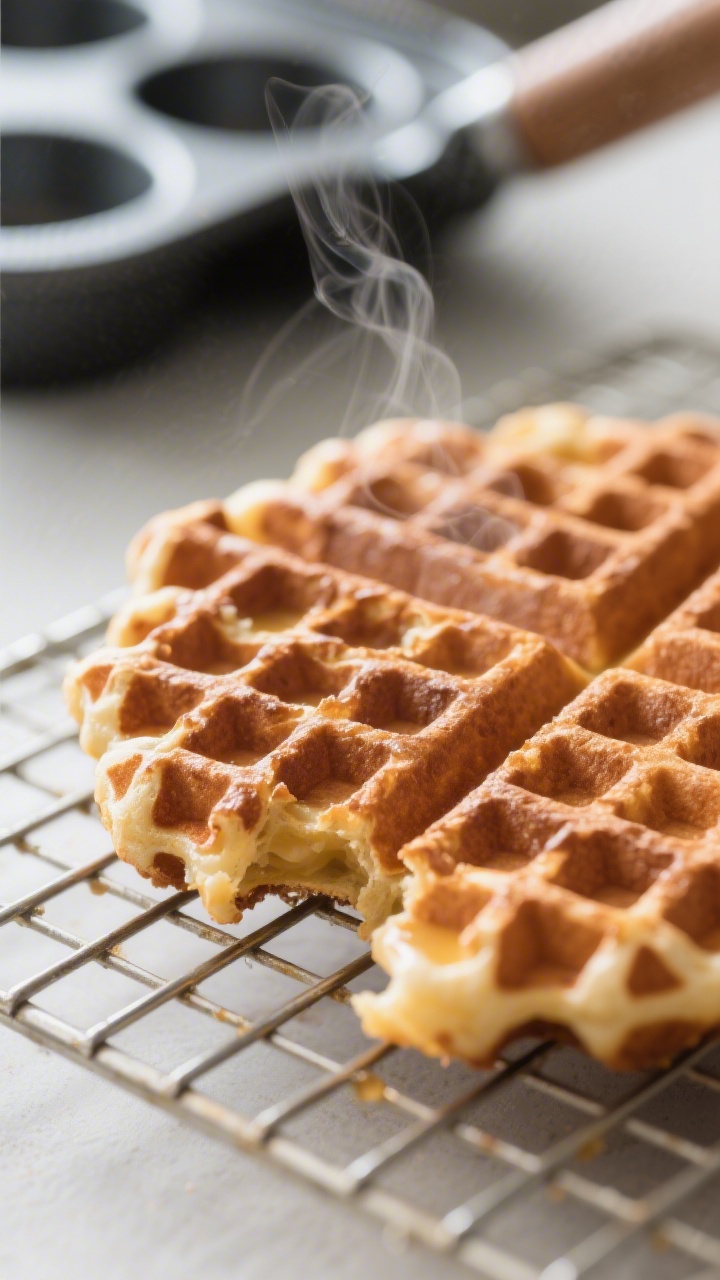
- Cook to golden: Cook 2–3 minutes, flip, then cook another 2–3 minutes, until deep golden with crisp edges. Time varies by stove and pan—peek at the edge color.
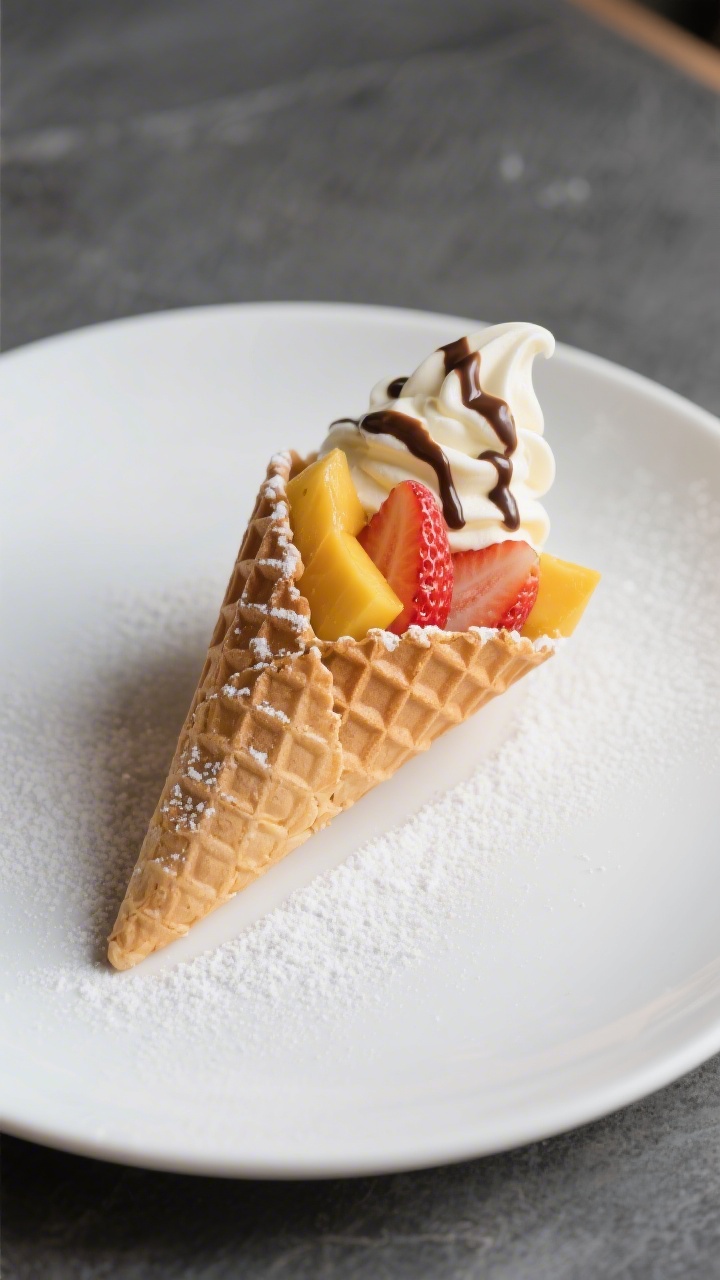
- Shape while warm: Release the waffle onto a cooling rack.For the classic cone shape, gently roll it around a clean bottle or cone mold while still warm and flexible. Hold for 30 seconds to set.
- Repeat: Lightly regrease between waffles. Stir batter briefly if it sits more than 10 minutes.
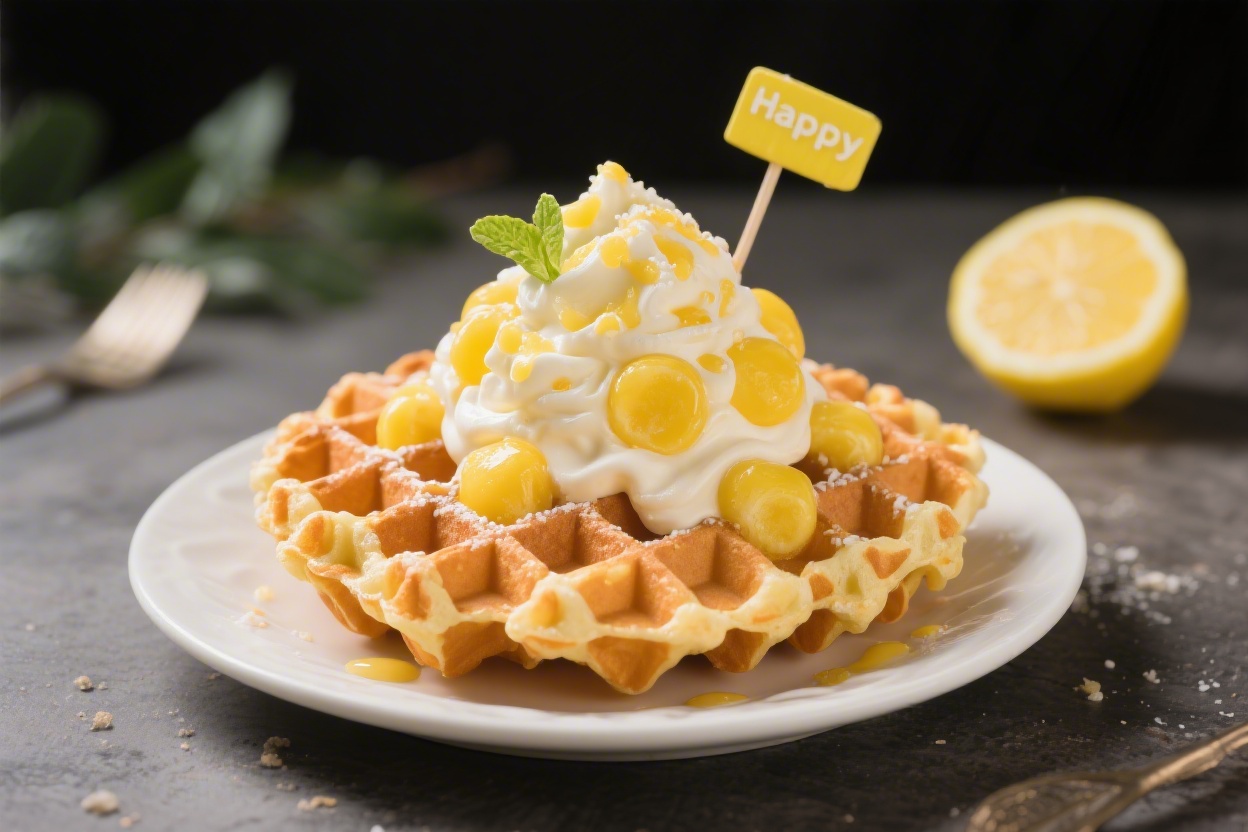
- Serve: Enjoy plain, dusted with powdered sugar, or filled with soft-serve, fruit, and drizzles.Best when fresh and warm.
How to Store
- Short-term: Keep cooked waffles on a cooling rack so steam escapes. They’ll stay crisp for about 20–30 minutes.
- Room temp: Once cool, store in a paper-towel-lined container for up to 1 day. Avoid sealing while warm.
- Refrigerate: Not ideal; it softens the texture.If needed, re-crisp in a 325°F (165°C) oven for 5–8 minutes.
- Freeze: Wrap individually and freeze up to 1 month. Reheat from frozen at 350°F (175°C) for 8–10 minutes.
Why This is Good for You
- Portion control: Making it at home lets you manage sweetness and serving size.
- Simpler ingredients: No mystery additives—just pantry basics you recognize.
- Customizable: Swap in dairy alternatives, reduce sugar, or add fruit for fiber.
- Joy factor: Cooking something playful can boost mood and make dessert more mindful and satisfying.
Common Mistakes to Avoid
- Overmixing the batter: This leads to tough waffles. Mix until just combined.
- Skipping the rest: Batter that goes straight to the pan can cook unevenly and won’t puff as well.
- Too much oil in the pan: Excess oil can pool and fry the batter unevenly.Use a light coat.
- High heat only: Blasting heat burns the outside and leaves the inside pale. Medium heat gives even color.
- Not flipping the pan: For stovetop pans, flipping right after pouring helps fill every bubble.
- Serving late: Texture is best right off the pan. If you must wait, cool on a rack, not a plate.
Alternatives
- No cake flour? Use 3/4 cup all-purpose flour + 2 tablespoons cornstarch to replace 1 cup cake flour.
- Dairy-free: Use oat or almond milk and swap butter with more neutral oil.
- Gluten-free: Use a 1:1 gluten-free baking blend plus the cornstarch listed.Let the batter rest 15 minutes.
- Flavor twists: Add 1–2 teaspoons matcha powder, a pinch of cinnamon, or swap vanilla for almond extract.
- Chocolate version: Replace 2 tablespoons of cake flour with 2 tablespoons cocoa powder and add 1 extra tablespoon sugar.
- Crispier style: Reduce milk by 2 tablespoons and add 1 tablespoon extra oil for more snap.
FAQ
Do I need a special bubble waffle pan?
You’ll get the signature look with a bubble waffle pan or an electric egg waffle maker. A regular waffle iron won’t create the same round bubbles, but the batter still tastes great if that’s what you have.
Why are my waffles pale?
They likely need a bit more time or slightly higher heat. Also check your batter: a touch of sugar and a rested batter help with browning.
Make sure the pan is fully preheated.
How do I keep them crisp?
Cool on a rack so steam escapes. Serve right away, and avoid stacking while hot. If they soften, re-crisp in a warm oven for a few minutes.
Can I make the batter ahead?
Yes, up to 24 hours in the fridge.
Stir gently before using and thin with a tablespoon of milk if it thickens. Let it sit at room temperature for 10 minutes before cooking.
What toppings work best?
Soft-serve or whipped cream, sliced strawberries, mango, or bananas, plus chocolate or caramel drizzle are classics. For lighter options, try yogurt, fresh berries, and a dusting of powdered sugar.
My bubbles didn’t fill—what went wrong?
Either there wasn’t enough batter, or you didn’t flip the stovetop pan right after closing.
Pour, close, flip immediately, and give the pan a gentle shake to help the batter settle.
Can I make it less sweet?
Yes. Reduce sugar to 1/4 cup and add a pinch more vanilla. The waffle will be lightly sweet and perfect for fruit-forward toppings.
In Conclusion
This Happy Lemons bubble waffle copycat recipe gives you soft, golden bubbles with just the right crisp.
The batter is simple, the method is reliable, and the results are street-snack fun without leaving home. Keep the heat moderate, flip the pan early, and enjoy them warm. Add your favorite toppings and make it your own—one batch and you’ll be hooked.