
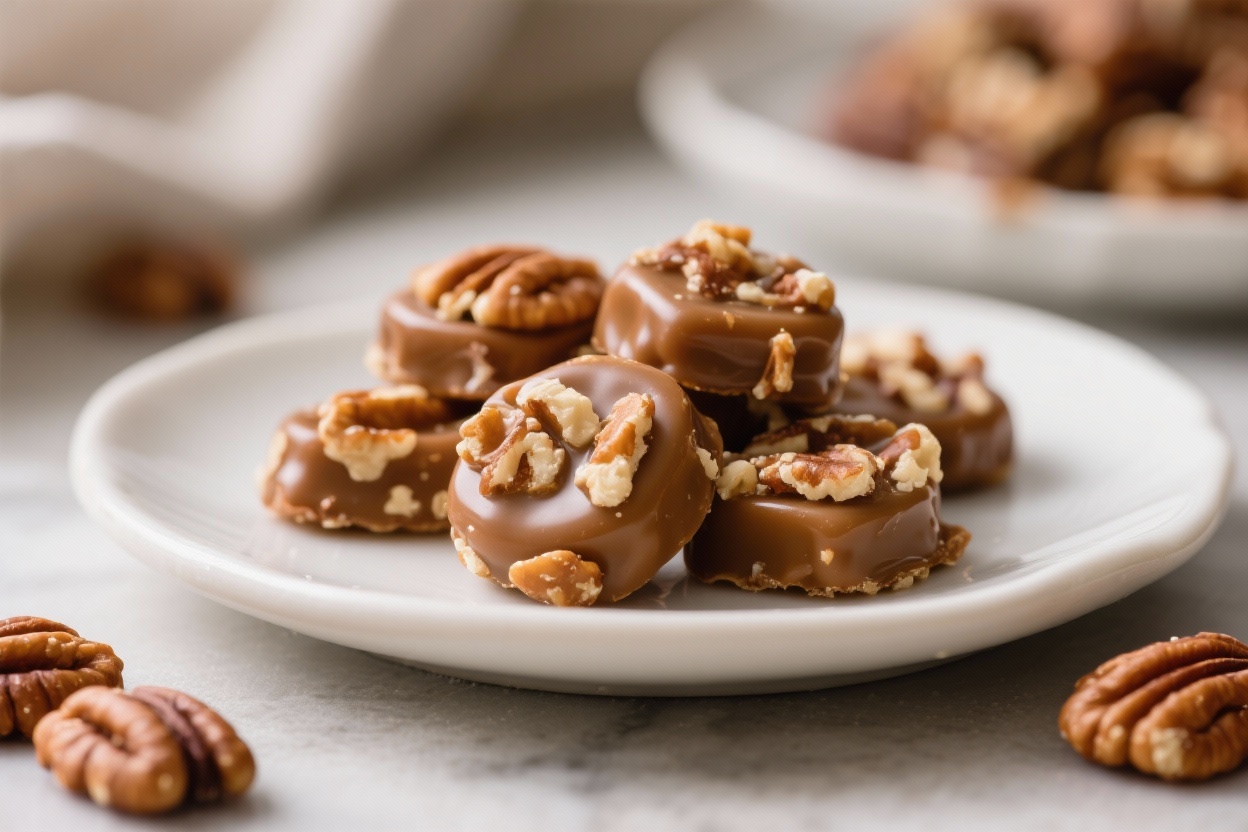
This Maple Nut Goodies Candy Recipe brings you that nostalgic, old-fashioned candy shop taste right from your kitchen. The creamy maple center, crunchy roasted peanuts, and smooth chocolate coating are the perfect trio. It’s simple enough for beginners, yet satisfying for anyone who loves candy making.
You’ll get a small-batch treat that’s great for gifting, sharing at gatherings, or enjoying with a cup of coffee. If you love peanut clusters but want a maple twist, this one hits the spot.
Why This Recipe Works
This recipe leans on a classic candy technique: a soft, maple-flavored fondant-style center that sets firm enough to dip but still melts in your mouth. Using roasted, lightly salted peanuts adds crunch and balances the sweetness.
A little butter and powdered sugar create a smooth maple center with the right bite. The chocolate coating seals in freshness and gives that satisfying snap. And the method is straightforward, so you don’t need a candy thermometer or special equipment.
What You’ll Need
- Salted roasted peanuts – 2 cups, whole or halves
- Unsalted butter – 4 tablespoons (softened)
- Pure maple syrup – 1/3 cup
- Maple extract – 1/2 to 1 teaspoon, to taste
- Brown sugar – 1/4 cup, light or dark
- Powdered sugar – 2 to 2 1/2 cups, sifted
- Heavy cream – 2 tablespoons (plus an extra splash if needed)
- Vanilla extract – 1 teaspoon
- Salt – a pinch (skip if peanuts are very salty)
- Chocolate for coating – 12 ounces (milk chocolate is classic; semisweet or a mix also works)
- Coconut oil or cocoa butter – 1 to 2 teaspoons, optional for smoother dipping
Instructions
- Prep your pan: Line a baking sheet with parchment paper.Set aside.
- Make the maple base: In a medium bowl, beat the softened butter until smooth. Add maple syrup, brown sugar, heavy cream, vanilla, maple extract, and a pinch of salt. Mix until creamy.
- Add powdered sugar: Stir in 2 cups of powdered sugar, a little at a time, until a soft dough forms.If it’s sticky, add up to 1/2 cup more sugar. If it’s crumbly, add a tiny splash of cream.
- Fold in peanuts: Add the roasted peanuts and gently mix until evenly distributed. The mixture should hold together when pressed but still feel soft.
- Shape the centers: Scoop about 1 tablespoon of the mixture and roll or press into small mounds (oval or round).Place on the lined baking sheet.
- Chill: Refrigerate for 30–45 minutes, or freeze for 15–20 minutes, until firm enough to dip.
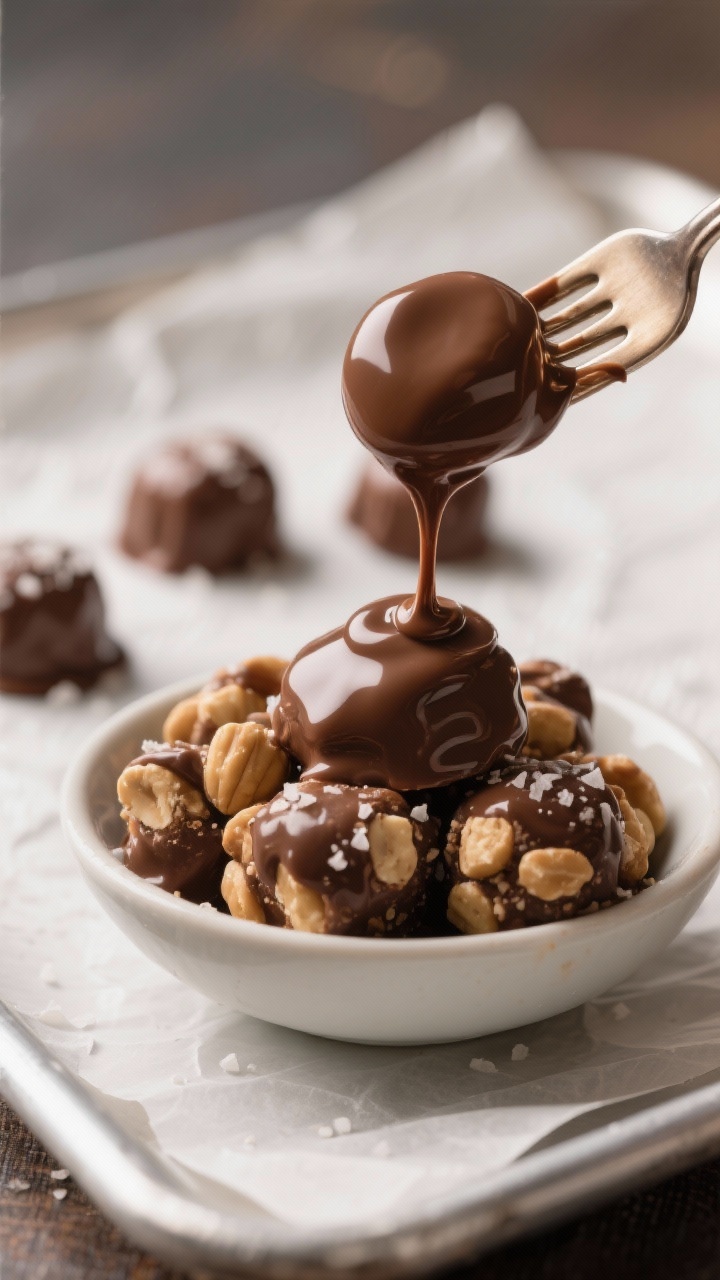
- Melt chocolate: In a microwave-safe bowl, melt the chocolate in 20–30 second bursts, stirring between each, until smooth. Stir in 1–2 teaspoons of coconut oil if you want a thinner coating.
- Dip the candies: Using a fork, dip each maple-peanut mound into the chocolate. Let excess drip off, then set back on the parchment.For a thicker shell, double dip after the first layer sets.
- Set the coating: Let candies rest at room temperature until the chocolate firms up, about 30–45 minutes. For faster setting, refrigerate for 10–15 minutes.
- Finish and store: Once fully set, transfer candies to an airtight container. Store as directed below.
Keeping It Fresh
Room temperature: Store in a cool, dry place in an airtight container for up to 1 week.
Place parchment between layers to prevent sticking.
Refrigerator: Keeps well for 2–3 weeks. Let them sit out 10 minutes before serving for the best texture.
Freezer: Freeze in a single layer, then bag or box tightly for up to 2 months. Thaw in the fridge to prevent condensation on the chocolate.
Benefits of This Recipe
- No special tools needed: No thermometer required.
- Balanced flavor: Maple sweetness meets salty, toasty peanuts and chocolate.
- Make-ahead friendly: Great for parties, gifts, and holiday trays.
- Customizable: Works with different nuts, chocolate types, and add-ins.
- Kid-friendly project: Rolling and dipping is simple and fun.
Pitfalls to Watch Out For
- Center too soft: If the maple mixture sticks to your hands, add more powdered sugar or chill longer before dipping.
- Chocolate too thick: Thin with a small amount of coconut oil or cocoa butter.Overheating makes chocolate grainy.
- Oily chocolate: Water or steam can seize melted chocolate. Keep bowls and utensils completely dry.
- Too sweet overall: Use semisweet chocolate, add a touch more salt, or use lightly salted nuts.
- Peanuts getting soggy: Make sure nuts are well roasted and fully cooled before mixing.
Recipe Variations
- Dark chocolate twist: Use 70% dark chocolate for deeper flavor and less sweetness.
- Maple pecan version: Swap peanuts for toasted pecans for a praline-like vibe.
- Crunchy center: Stir in crushed wafer cookies or crisped rice with the peanuts.
- Bourbon maple: Add 1 teaspoon bourbon to the maple mixture and increase powdered sugar slightly to keep the texture firm.
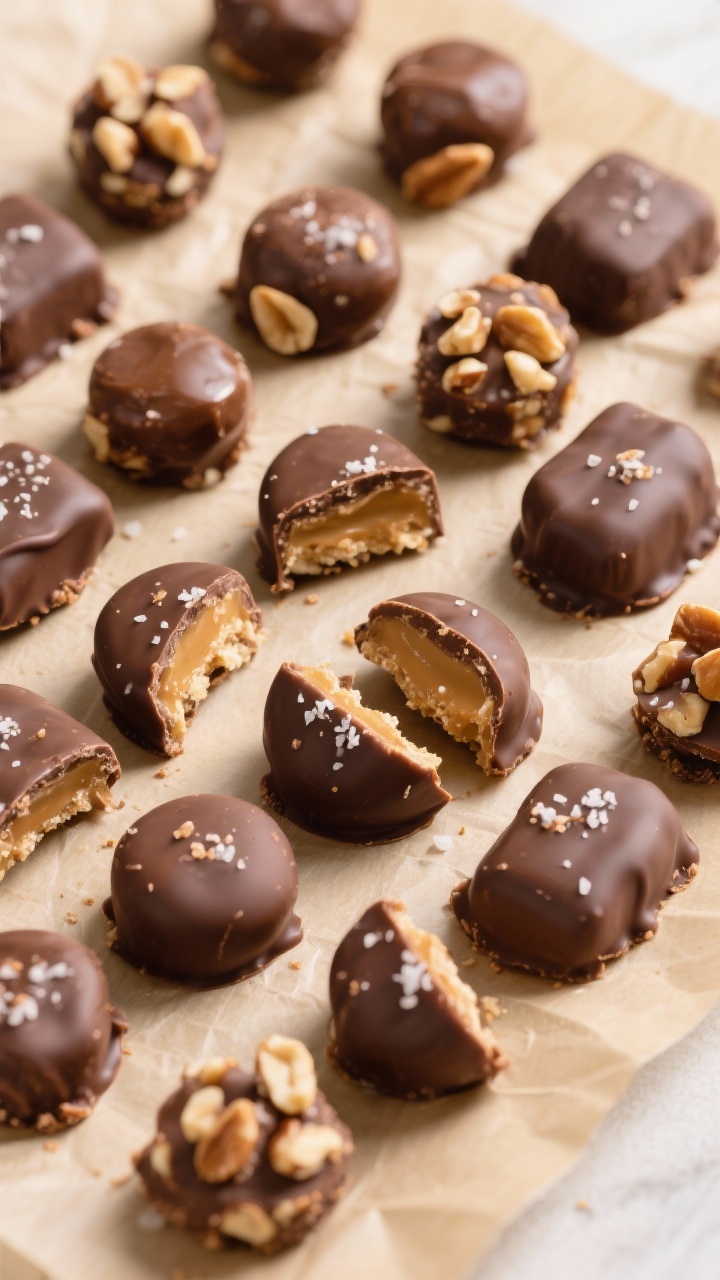
- Sea salt finish: Sprinkle a few flakes of sea salt on top before the chocolate sets.
- White chocolate coat:</-strong> Use white chocolate for a sweeter, candy-shop look; add a pinch of salt to balance.
- Peanut-free option: Use sunflower seeds or pumpkin seeds for a nut-free crunch.
FAQ
Can I make these without maple extract?
Yes. The maple syrup alone works, but the flavor will be softer.
For a stronger maple punch, the extract helps. If skipping extract, you can add an extra tablespoon of maple syrup and a pinch more salt to balance.
What’s the best chocolate to use?
Use good-quality baking or couverture chocolate for smooth melting and clean snap. Milk chocolate is closest to the classic taste, but semisweet or a mix of milk and dark is great if you prefer less sweetness.
How do I prevent the centers from crumbling?
If the mixture is dry and crumbly, add a splash of heavy cream and knead gently until it comes together.
If it’s sticky, add more powdered sugar. Chilling also helps hold the shape while dipping.
Can I toast my own peanuts?
Absolutely. Spread peanuts on a baking sheet and toast at 350°F (175°C) for 6–8 minutes, stirring once.
Cool completely before mixing so they don’t melt the center.
Do I need to temper the chocolate?
Tempering gives a glossy finish and better snap, but it’s optional. For a simpler approach, melt chocolate gently and let the candies set in a cool room. If you live in a warm climate or want that pro look, tempering is worth it.
Are these gluten-free?
Yes, the ingredients are typically gluten-free, but always check labels on chocolate and extracts to be sure.
If adding mix ins like wafer crumbs, choose gluten-free versions.
Can I halve or double the recipe?
Yes, it scales well. If doubling, melt chocolate in batches so it doesn’t thicken while you work. Keep some centers chilled while dipping the first batch.
In Conclusion
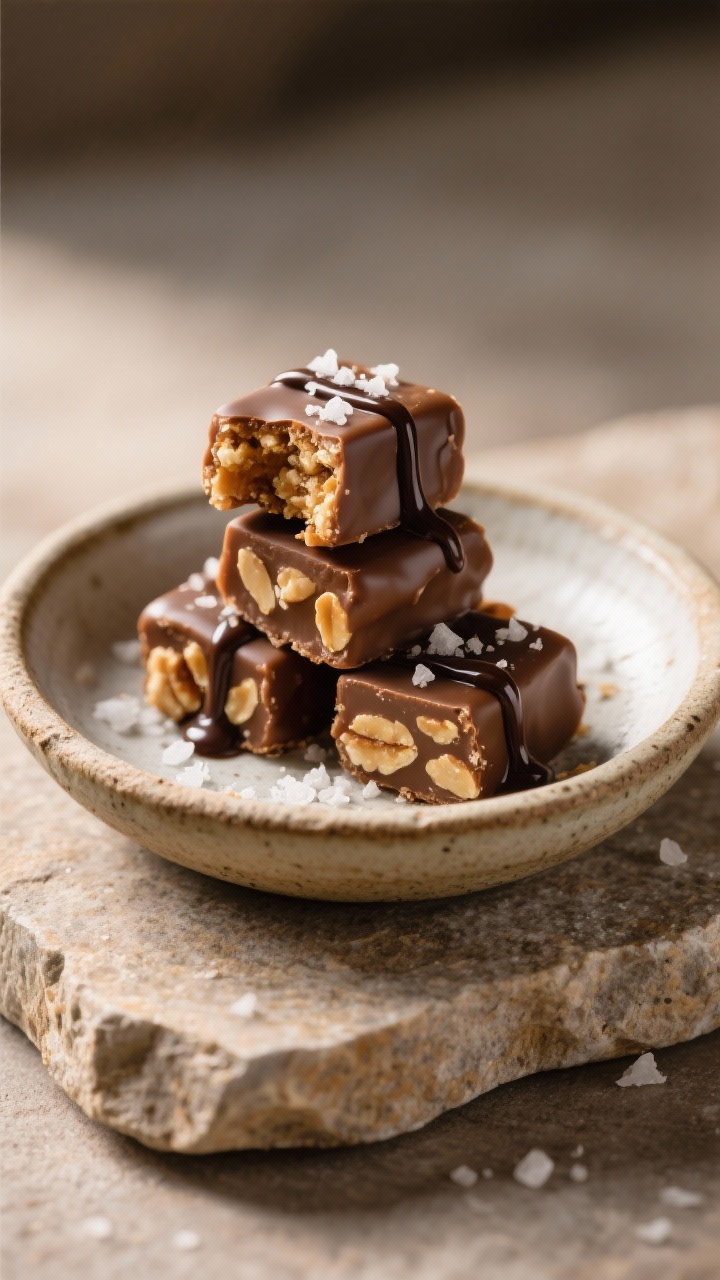
Maple Nut Goodies bring together creamy maple sweetness, roasted nut crunch, and a smooth chocolate shell in a simple, rewarding candy.
The method is approachable, the ingredients are pantry friendly, and the results feel special. Whether you’re making gifts or treating yourself, this recipe delivers cozy, classic candy-shop charm with every bite.
Printable Recipe Card
Want just the essential recipe details without scrolling through the article? Get our printable recipe card with just the ingredients and instructions.