

If you love a buttery, tender, and perfectly flaky crust like the ones from classic diner pies, this recipe will be your go-to. It’s simple, forgiving, and makes a crust that bakes up crisp on the edges and soft in the center. You don’t need special equipment or pastry school skills—just a few smart steps and cold ingredients.
This dough works for sweet or savory pies, and it holds up beautifully to blind baking and juicy fillings. Once you try it, you’ll skip store-bought more often than not.
Why This Recipe Works
This pie crust uses a mix of butter and shortening for the best of both worlds: butter for flavor and shortening for structure and flake. A small amount of sugar and salt seasons the crust without making it sweet, so it fits any filling.
Ice-cold water and minimal mixing keep the fat in small pieces, which creates steam pockets that turn into flaky layers. A short chill time relaxes the gluten, preventing shrinkage and toughness. It’s an easy, reliable method inspired by classic American diner-style pies—no guesswork, just great results.
Ingredients
- 2 1/2 cups (300g) all-purpose flour
- 1 tablespoon granulated sugar (optional for savory pies, but recommended for balance)
- 1 teaspoon fine salt
- 1/2 cup (115g) cold unsalted butter, cut into 1/2-inch cubes
- 1/2 cup (95g) cold vegetable shortening, cut into pieces
- 6–8 tablespoons ice water (start with 6; add more as needed)
- 1 tablespoon vinegar or lemon juice (stirred into the ice water; helps tenderness and reduces shrinkage)
- Optional for blind baking: 1 egg white (for sealing), pie weights or dried beans
Step-by-Step Instructions
- Chill everything. Place the butter, shortening, and even your flour in the fridge for 15–20 minutes.Cold ingredients are key for flaky layers.
- Mix dry ingredients. In a large bowl, whisk the flour, sugar, and salt until combined.
- Cut in the fats. Add the cold butter and shortening. Use a pastry cutter or your fingertips to work them into the flour until you have pea-sized bits with a few larger, marble-sized pieces. Don’t overwork it.
- Add ice water gradually. Stir the vinegar or lemon juice into your ice water.Sprinkle 6 tablespoons over the flour mixture and gently mix with a fork. If the dough looks dry, add more water a teaspoon at a time. The dough should hold when squeezed but not feel wet.
- Bring it together. Turn the mixture onto a clean surface.Press and fold just until it comes together—no kneading. Divide into two equal disks for a double-crust pie or keep as one if you only need a single crust. Wrap tightly.
- Chill the dough. Refrigerate for at least 1 hour (up to 2 days).This relaxes the gluten and firms the fats.
- Roll it out. On a lightly floured surface, roll one disk from the center outward, turning a quarter turn after each few rolls. Aim for a 12-inch circle about 1/8 inch thick for a standard 9-inch pie plate.
- Fit into the pan. Gently lift the dough into the pie plate. Don’t stretch it—let it settle.Trim excess, leaving a 1-inch overhang. Tuck the overhang under and crimp the edges.
- Chill again. Place the lined pie pan in the fridge for 20–30 minutes (or 10–15 minutes in the freezer). Cold dough holds its shape better in the oven.
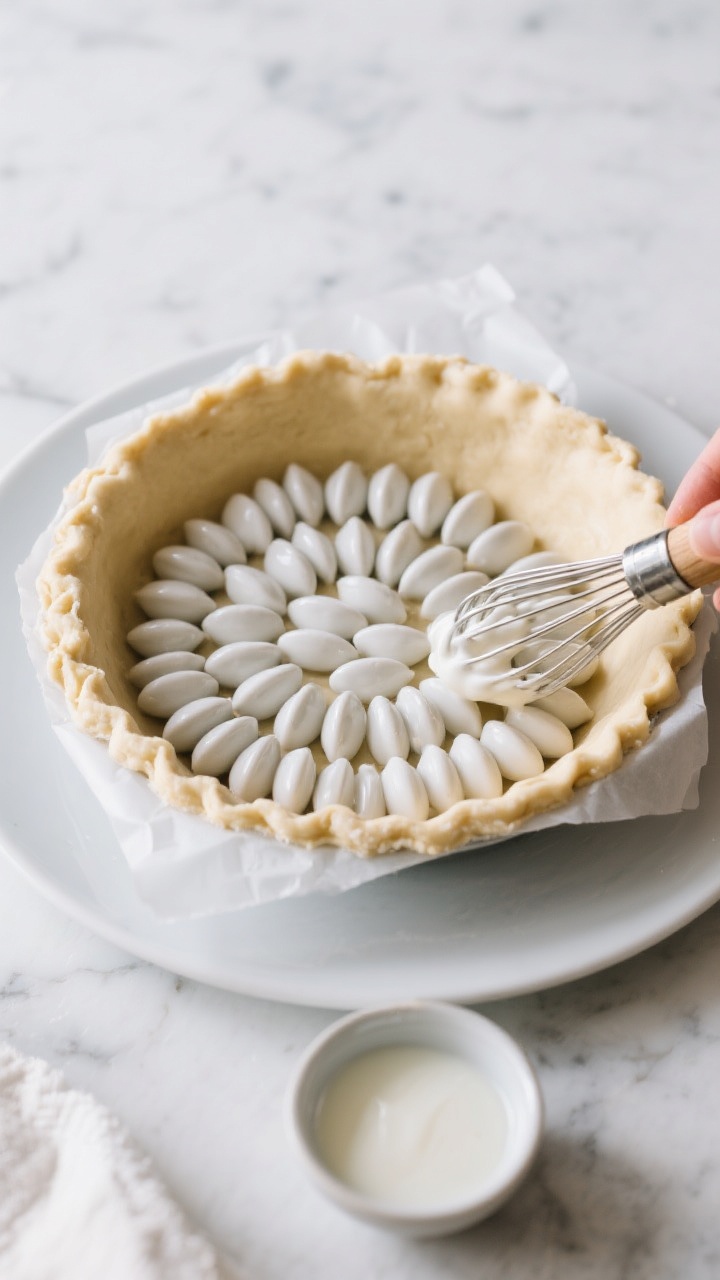
- For blind baking (prebaked shell): Heat oven to 400°F (200°C).Prick the base lightly with a fork. Line with parchment and fill with pie weights. Bake 15 minutes, remove weights, brush with whisked egg white if you want a moisture barrier, and bake 5–10 more minutes until lightly golden.
For a fully baked crust, continue 5–10 more minutes until deep golden.
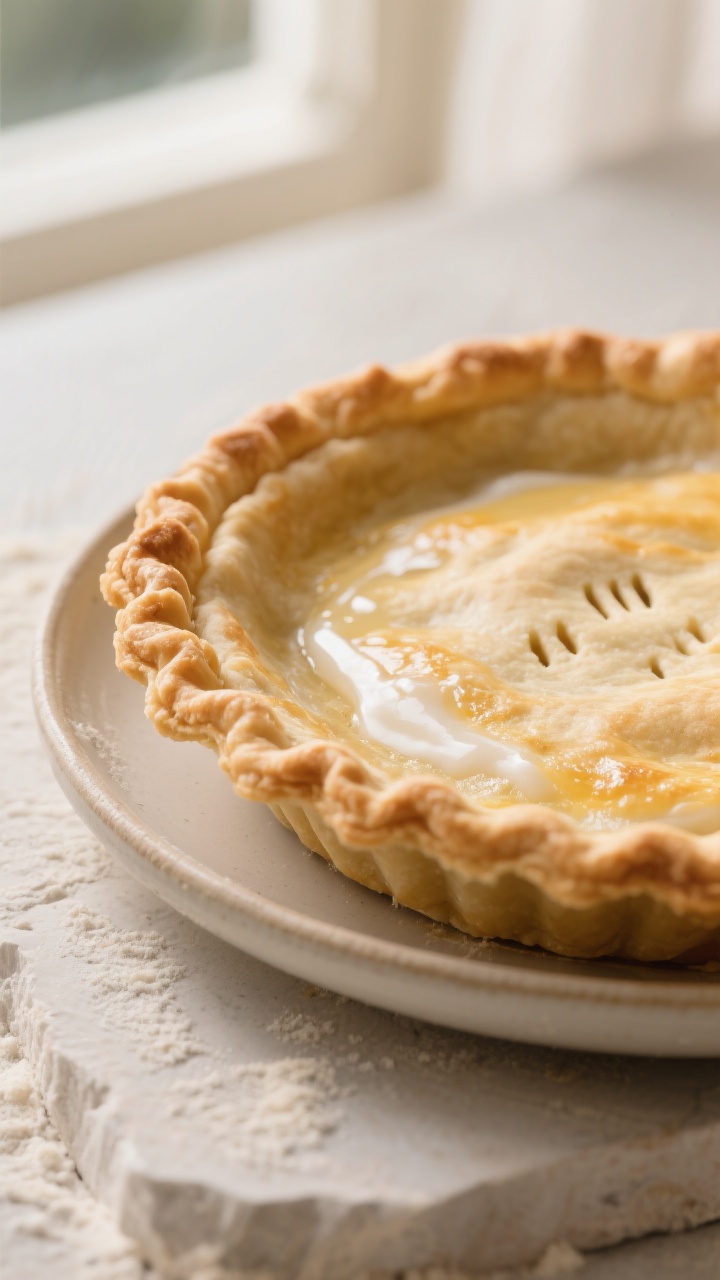
- For filled pies: Add filling to the chilled raw crust. If using a top crust, roll the second disk, cut vents, and place on top. Crimp to seal.Brush with milk or egg wash for color. Bake according to your pie recipe.
How to Store
- Unbaked dough: Wrapped disks keep in the fridge up to 2 days or in the freezer up to 2 months. Thaw overnight in the fridge before rolling.
- Unbaked shaped crust: Freeze the crimped crust in the pan, uncovered, until solid, then wrap.Bake from frozen, adding a few extra minutes.
- Blind-baked crust: Cooled and wrapped, it stays crisp at room temperature for 1 day. For longer storage, freeze up to 1 month; refresh in a 350°F (175°C) oven for 5–8 minutes.
Benefits of This Recipe
- Consistent flake and tenderness thanks to the butter-shortening combo.
- Neutral, balanced flavor that suits sweet or savory fillings.
- Beginner-friendly steps with clear temperature cues and chilling stages.
- Make-ahead flexibility with freezer-friendly dough and shells.
- Works for any pie style—single crust, double crust, lattice, hand pies, and quiche.
Pitfalls to Watch Out For
- Warm fat = tough crust. If the dough feels sticky or soft, chill it before rolling.
- Over-hydrating. Too much water makes the crust dense. Add just enough to hold together when pressed.
- Overworking the dough. Kneading develops gluten and leads to shrinkage.Handle gently.
- Skipping the chill. Each chill prevents slumping and helps layers puff.
- Stretching dough into the pan. Let it fall naturally; stretching makes it snap back while baking.
Recipe Variations
- All-butter crust: Use 1 cup (230g) butter, no shortening. Flavor is richer; keep it extra cold for flake.
- Savory herb crust: Add 1–2 teaspoons finely chopped rosemary, thyme, or chives and skip the sugar.
- Whole-wheat blend: Swap 1 cup of the all-purpose flour for whole-wheat pastry flour; add 1 extra tablespoon water if needed.
- Brown sugar crust: Replace granulated sugar with light brown sugar for a hint of caramel with fruit pies.
- Spiced dessert crust: Add 1/2 teaspoon cinnamon or cardamom for apple or pear pies.
- Gluten-free option: Use a 1:1 gluten-free baking flour with xanthan gum; add an extra tablespoon of water if crumbly.
FAQ
Can I make this crust in a food processor?
Yes. Pulse the dry ingredients, then add butter and shortening and pulse 6–8 times until pea-sized.
Drizzle in ice water through the feed tube just until the dough holds when pinched. Stop before it forms a solid ball to avoid overworking.
What if I only have salted butter?
Use it and reduce the added salt to 1/2 teaspoon. The flavor will still be balanced.
How do I prevent a soggy bottom?
Blind bake for custard or very juicy fillings, brush with egg white after the weights come out, and bake on the lower oven rack on a preheated sheet pan.
Vent top crusts well to let steam escape.
Can I use lard instead of shortening?
Yes. Good-quality leaf lard makes an ultra-flaky crust with a clean finish. Swap 1:1 for shortening.
Keep it very cold.
Why add vinegar or lemon juice?
Acid helps limit gluten development, which keeps the crust tender and reduces shrinkage. You won’t taste it.
How thick should I roll the dough?
About 1/8 inch thick. If you can see faint specks of butter and the dough lifts without tearing, you’re there.
Can I patch tears or cracks?
Absolutely.
Use trimmed dough scraps, press to seal, and give the pie a quick chill before baking. It will bake up seamlessly.
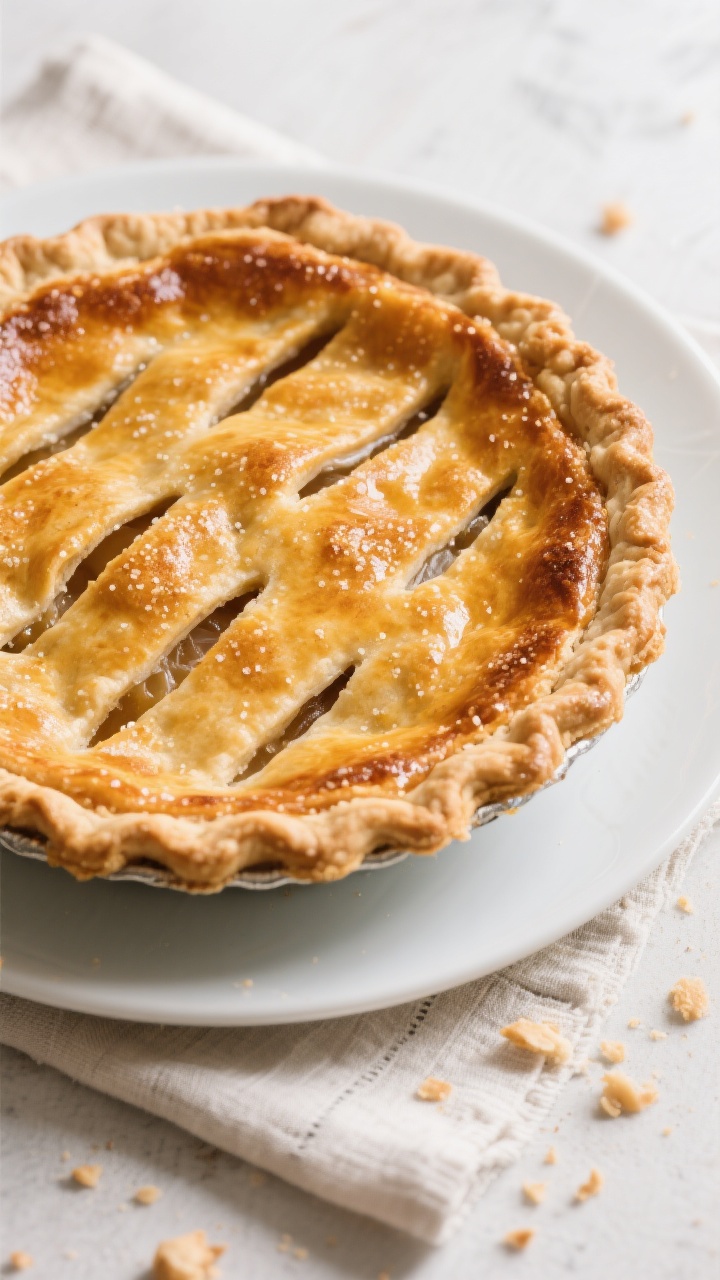
How do I get a glossy, golden top crust?
Brush with a beaten egg mixed with 1 tablespoon milk or cream and sprinkle with coarse sugar for sweet pies or flaky salt for savory.
Wrapping Up
This flaky, easy pie crust delivers classic diner-style results with simple steps and everyday ingredients. Keep the fats cold, add just enough water, and respect the chill times—that’s the whole secret.
Whether you’re baking a peach pie in summer or a cozy chicken pot pie in winter, this crust has your back. Once you master it, you’ll have a reliable base for every pie you crave.
Printable Recipe Card
Want just the essential recipe details without scrolling through the article? Get our printable recipe card with just the ingredients and instructions.