
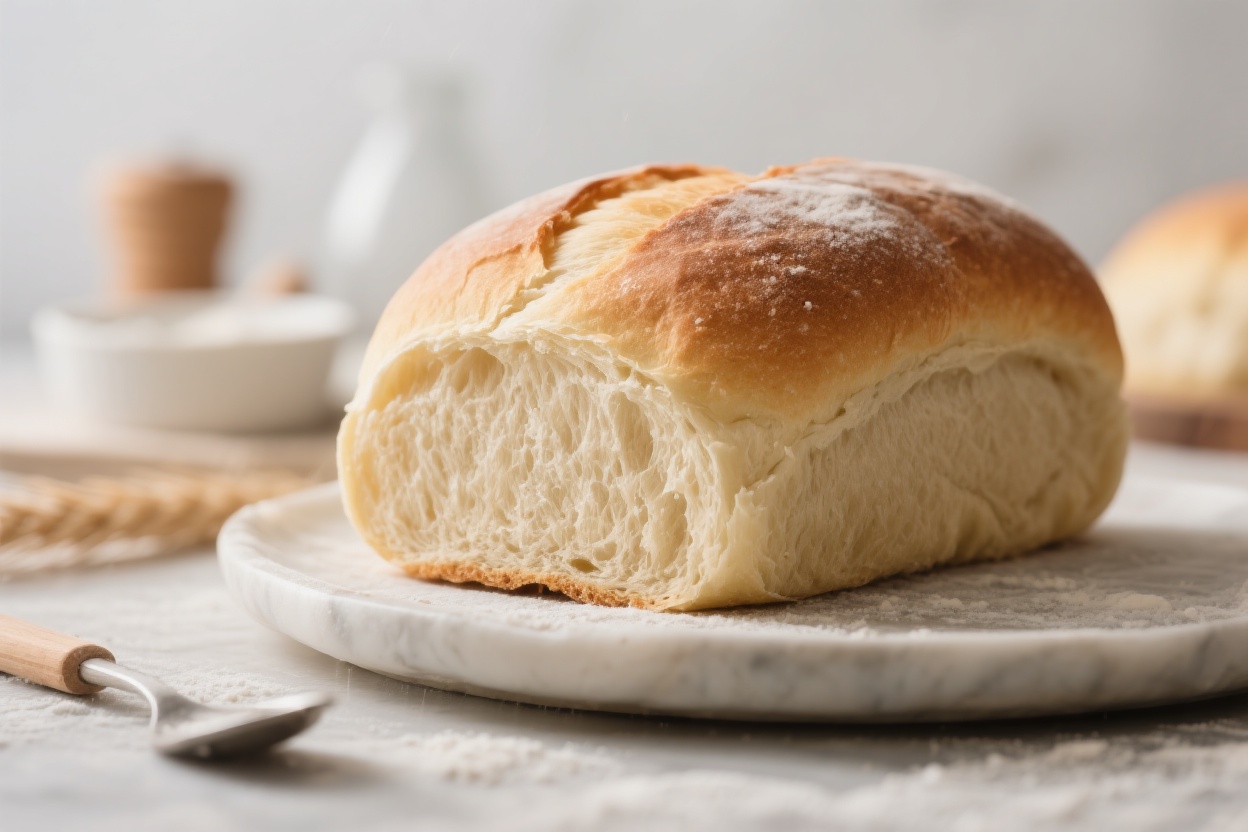
There’s nothing quite like the smell of bread baking in your kitchen. If you’ve been nervous to try making bread, this recipe is your friendly place to start. It uses simple ingredients, easy steps, and a few tricks to guarantee a soft, fluffy loaf.
You don’t need special tools—just a bowl, a spoon, and a loaf pan. In about two hours, you’ll have a golden loaf that slices like a dream and tastes even better.
What Makes This Recipe So Good
- Beginner-friendly method: Clear steps and forgiving dough make this a great first loaf.
- Super soft texture: Milk, a touch of butter, and the right kneading create a tender crumb.
- Everyday ingredients: Flour, yeast, sugar, salt, milk, water, and butter—nothing fancy.
- Quick rise time: Active dry yeast brings the dough to life fast.
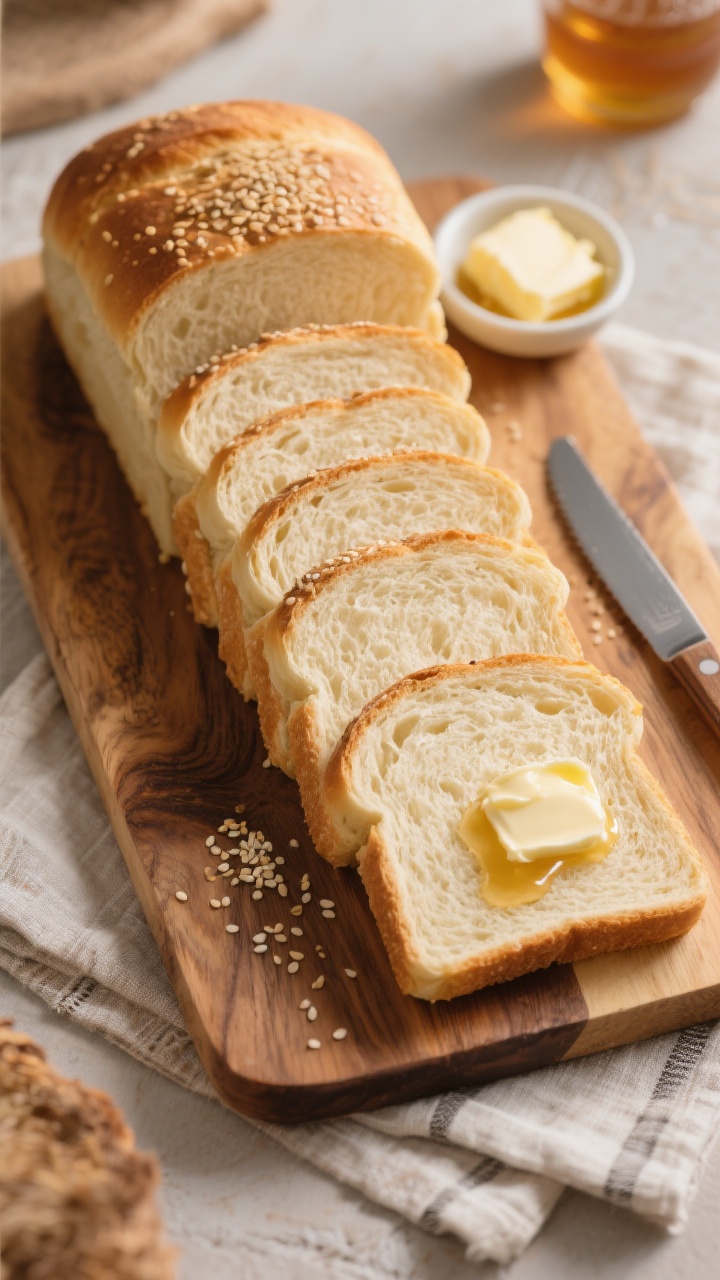
- Versatile loaf: Perfect for sandwiches, toast, French toast, and more.
Ingredients
- 3 cups (360 g) bread flour (or use all-purpose flour; see notes below)
- 2 1/4 teaspoons (1 packet, 7 g) active dry yeast
- 1 cup (240 ml) warm milk (about 105–110°F / 40–43°C)
- 1/3 cup (80 ml) warm water (about 105–110°F / 40–43°C)
- 3 tablespoons (38 g) granulated sugar
- 1 1/2 teaspoons fine salt
- 3 tablespoons (42 g) unsalted butter, melted and slightly cooled
- 1 tablespoon neutral oil (for greasing bowl)
- Optional: 1 tablespoon soft butter for brushing the crust after baking
Step-by-Step Instructions
- Proof the yeast. In a large bowl, stir warm water, warm milk, and sugar until dissolved. Sprinkle the yeast on top and let it sit 5–10 minutes, until foamy.If it doesn’t foam, your yeast may be inactive or the liquid was too hot or too cold.
- Mix the dough. Add melted butter and salt to the foamy mixture. Stir in 2 1/2 cups of flour with a wooden spoon until a shaggy dough forms. Gradually add the remaining 1/2 cup as needed until the dough is soft and slightly tacky but not sticky.
- Knead until smooth. Turn the dough onto a lightly floured surface.Knead for 8–10 minutes, folding and pressing the dough until it’s smooth, elastic, and springs back when poked. A little tackiness is okay; avoid adding too much extra flour.
- First rise. Lightly oil a clean bowl. Place the dough in, turning once to coat.Cover with a clean towel or plastic wrap and let rise in a warm spot for 60–75 minutes, or until doubled in size.
- Shape the loaf. Gently punch down the dough to release air. Pat into a rectangle roughly 8×12 inches. Roll it up tightly from the short end, pinching the seam closed.Tuck the ends under for a neat shape.
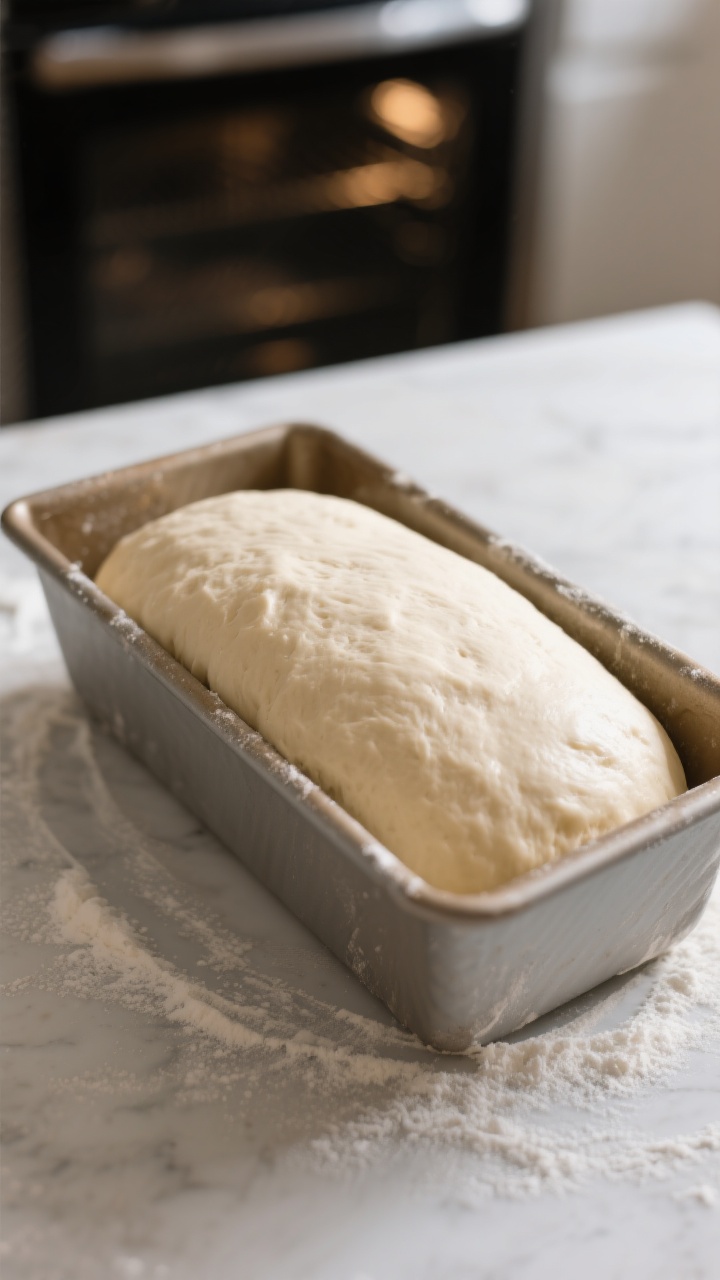
- Second rise. Place the shaped dough seam-side down into a greased 9×5-inch loaf pan. Cover and let rise 30–45 minutes, until the dough crowns about 1 inch above the rim. Preheat the oven to 350°F (175°C) while it rises.
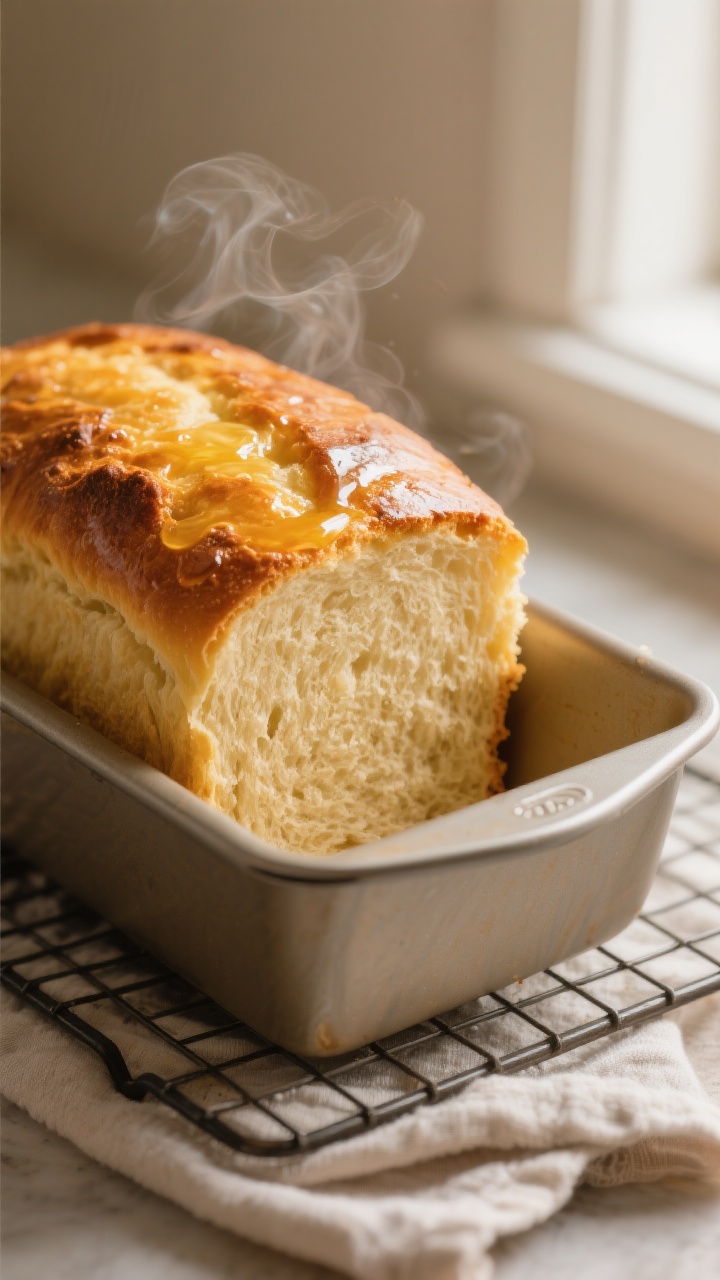
- Bake. Bake for 28–33 minutes, until the top is deep golden and the loaf sounds hollow when tapped.For precision, the internal temperature should reach 190–195°F (88–90°C).
- Finish and cool. Remove from the pan and place on a wire rack. For an extra-soft crust, brush the top with soft butter. Cool at least 45 minutes before slicing to keep the crumb tender.
Storage Instructions
- Room temperature: Store in a bread box or wrapped in a clean towel and then in a bag for up to 3 days.Avoid the fridge—it dries bread out.
- Freezer: Slice the cooled loaf, wrap tightly in plastic, then place in a freezer bag. Freeze for up to 2 months. Toast slices straight from frozen.
- Reviving softness: If it feels a bit dry on day two, warm slices briefly in the microwave for 10–15 seconds or toast lightly.
Why This is Good for You
- Made from scratch: You control the ingredients—no preservatives, stabilizers, or mystery additives.
- Balanced energy: Bread provides carbs for steady energy, especially paired with protein or healthy fats.
- Comfort food with purpose: Baking can be calming and rewarding, and fresh bread makes simple meals feel special.
- Customizable nutrition: You can swap in some whole wheat flour or add seeds for fiber and minerals.
Pitfalls to Watch Out For
- Liquid too hot or cold: Yeast likes 105–110°F (40–43°C).Too hot kills it; too cold slows rising.
- Adding too much flour: A sticky start is normal. Add flour slowly until the dough is just tacky. Extra flour makes dense bread.
- Under-kneading: If the dough tears easily and doesn’t spring back, keep kneading.Good gluten development equals a fluffy loaf.
- Rushing the rise: Let the dough double. A short rise leads to tight, heavy slices.
- Cutting too soon: Warm bread smells amazing, but slicing early compresses the crumb. Cool at least 45 minutes.
Recipe Variations
- Half Whole Wheat: Swap 1 cup of bread flour for whole wheat.Add 1 extra tablespoon of water if needed. Expect a slightly heartier crumb.
- Honey Butter Loaf: Replace sugar with 3 tablespoons honey and brush the baked loaf with honey-butter for a gentle sweetness.
- Garlic Herb Bread: Add 1 teaspoon garlic powder and 2 teaspoons mixed dried herbs to the flour. Great for toast and sandwiches.
- Milk-Only Dough: Use 1 1/3 cups warm milk instead of milk plus water for an even softer, richer loaf.
- Seeded Top: Right before baking, brush the risen loaf with milk and sprinkle sesame or poppy seeds.
- Dairy-Free: Use warm water plus a neutral oil (3 tablespoons) instead of milk and butter.The crumb stays soft, just a bit lighter.
FAQ
Can I use instant yeast instead of active dry yeast?
Yes. Use the same amount. Skip the proofing step and mix instant yeast directly with the dry ingredients, then add the warm liquids.
Rising times may be slightly shorter, so keep an eye on the dough.
Do I need bread flour, or will all-purpose work?
All-purpose flour works fine and still gives you a soft loaf. Bread flour has more protein, which builds stronger gluten and a chewier texture. If using all-purpose, knead thoroughly and avoid adding extra flour.
How do I know when I’ve kneaded enough?
The dough should feel smooth, elastic, and slightly bouncy.
If you gently stretch a small piece, it should form a thin, translucent “window” without tearing quickly. That’s a sign your gluten is developed.
My dough isn’t rising. What went wrong?
Common causes are inactive yeast, liquid that was too hot or too cold, or a kitchen that’s too chilly.
Try moving the bowl to a warmer spot (near but not on the oven). If the yeast never foamed in step one, start over with fresh yeast.
Why is my bread dense?
Too much flour, under-kneading, or short rising times are typical culprits. Measure flour by weight if possible, or spoon and level it.
Let the dough double and give it a full second rise in the pan.
How do I get a softer crust?
Brush the hot loaf with butter right after baking and let it cool under a towel for 10–15 minutes. The steam softens the crust. Milk in the dough also helps keep the crust tender.
Can I make this by hand without a mixer?
Absolutely.
This recipe is designed for hand mixing and kneading. A mixer with a dough hook works too, but it’s not required.
Is this recipe good for rolls?
Yes. Divide the dough into 12 equal pieces after the first rise, shape into balls, place in a greased 9×13-inch pan, rise 20–30 minutes, and bake 18–22 minutes at 350°F (175°C).
In Conclusion
Soft, pillowy homemade bread is totally doable, even if you’ve never baked a loaf before.
With simple ingredients, warm liquids, and patient rising, you’ll get a tall, tender crumb and a golden top. Use this as your go-to everyday loaf, then play with variations as you get comfortable. Once you taste your own fresh bread, store-bought won’t hit the same—and you’ll have a new kitchen skill you can count on.
Enjoy every warm slice.
Printable Recipe Card
Want just the essential recipe details without scrolling through the article? Get our printable recipe card with just the ingredients and instructions.